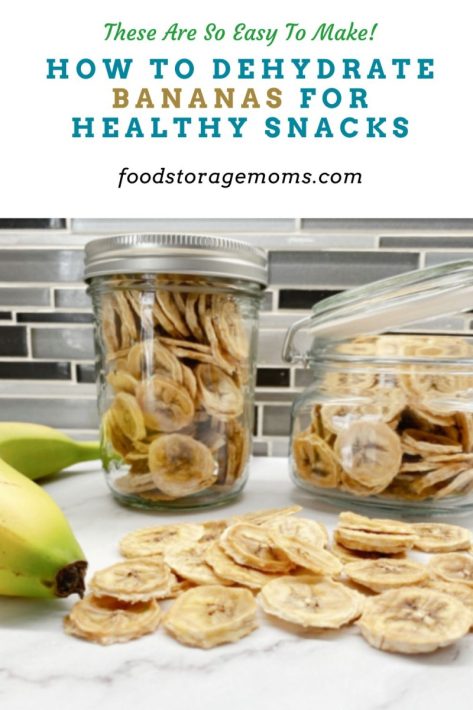
How To Dehydrate Bananas for Healthy Snacks
This post may contain affiliate links. We may earn a commission if you purchase via our links. See the disclosure page for more info.

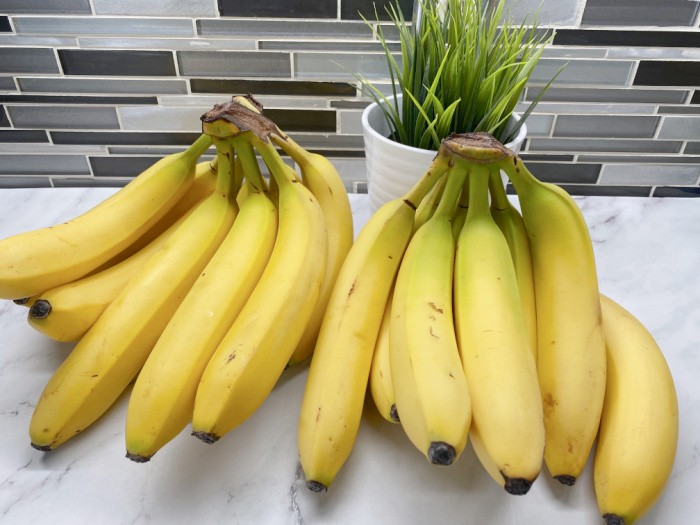
I’ve been dying to teach everyone about dehydrating bananas for healthy snacks. I wish you could see how fun these are to dehydrate. Dehydrating bananas is actually easier than anyone thinks! With my tutorial, you’ll be dehydrating bananas in no time and enjoying a healthy snack with the family. I wanted to update this post since I wanted clearer pictures and more details to help you learn the process of dehydrating bananas.
What to Do with Dehydrated Bananas
Although dehydrated bananas taste good and are a healthy snack, that is not all they are good for. You can add them to any ingredients that would require a banana. You can also add dehydrated bananas to trail mix, granola bars, and even banana bread!
The first thing you do is peel your bananas, cut away any bad spots, and slice them 1/8 to 1/4 inch thick. I use this stainless steel banana slicer that slices them about 1/4 inch thick and they are all uniformly cut.
How to Dehydrate Bananas
If you want to keep your bananas less brown, make a solution of one cup of water to one cup of lemon juice. You place your sliced bananas in the solution and then move them to the trays. Keep in mind you don’t have to use a lemon solution, you can dehydrate bananas without it.
Tools Needed For Dehydrating Bananas
- A Dehydrator
- Knife or banana slicer
- Lemon juice and water
- Medium size bowl
- FoodSaver with FoodSaver Attachments
How To Dehydrate Bananas for Healthy Snacks
Step One: Turn the Dehydrator On
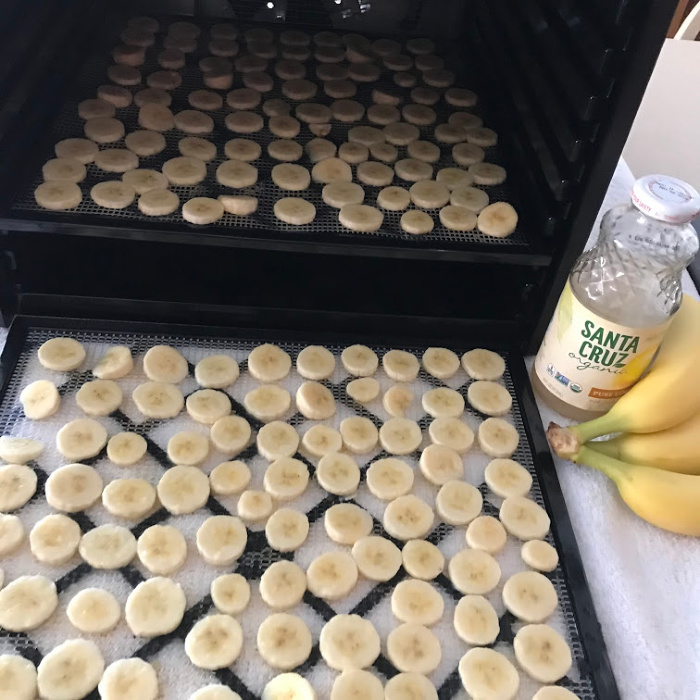
My Excalibur Dehydrator book said to set the temperature at (135°F) = (57°C) degrees to dehydrate bananas. Turn it on while you slice the bananas. Lemon water recipe: 1 cup water to 1 cup lemon juice (optional). Dip the peeled and sliced bananas in the lemon juice mixture to keep the sliced bananas from darkening. Drain the sliced bananas. Note: you can use lime juice as a backup if you can’t find the lemon juice shown.

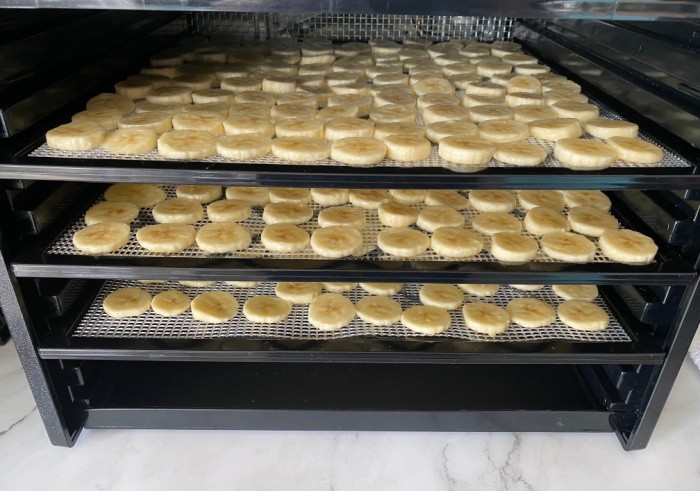
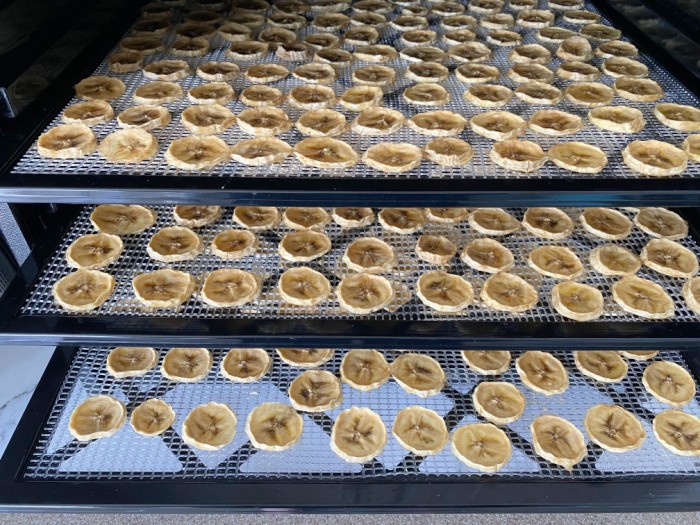
Step Two: Place Bananas on Racks
Place the sliced bananas on your dehydrator racks as evenly as possible without having them touch each other. Then I set it at 4 hours. I checked them every 2 hours, but other than that, you set and forget them. It’s best to make sure you have one single layer to they’ll dry faster. I have nine dehydrator trays in my Excalibur unit, so I can dehydrate quite a few bananas.
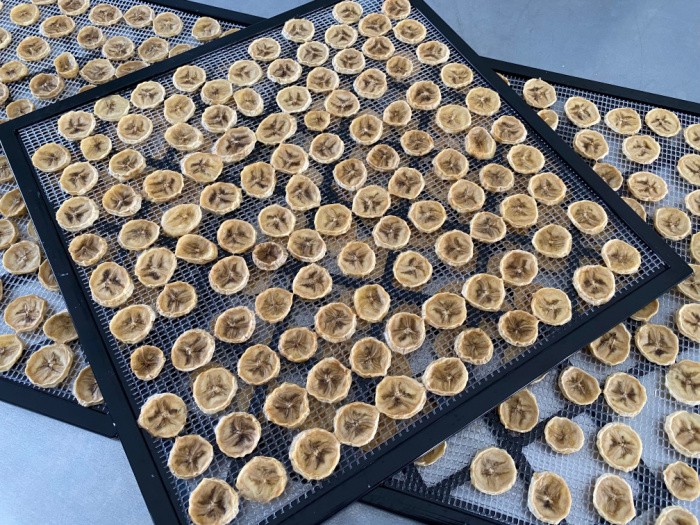
Step 3: Check on the Banana Slices
The time it takes to dehydrate your sliced bananas will depend on the humidity in the room where you are drying them and the thickness of the sliced bananas. You’ll want to check on them periodically to make sure they have the texture and crispness you want
These took about four hours to dehydrate to get to the stage I call leathery. Just perfect for my liking. Please keep in mind that dehydrating our own food is not for long-term storage, but it does lengthen the shelf life of food products.
Speaking of leather, you can make fruit leather by turning the fruit into a puree and dehydrating the puree in your dehydrator. We’ll discuss that another time because I love the flavor, texture, and nutrition you get from foods made into leather.
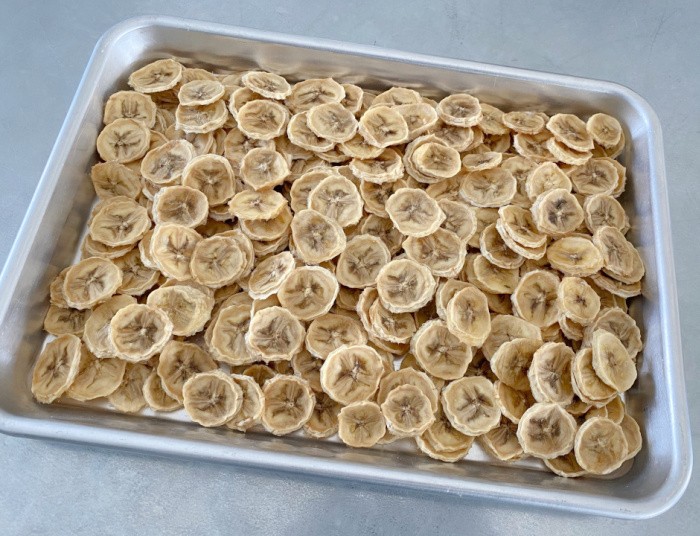
Step 4: Remove the Trays
When the bananas are dried to the desired texture you want, turn off the machine and remove the trays.
Step 5: Condition the Fully Dehydrated Slices
These were just pulled out of the dehydrator. The next step is to “condition” the banana slices. I set my fruit and vegetables on my countertop for 5-7 days. Ten days is even better to make sure everything is dry before using your FoodSaver unit.
How To Condition Your Fruit or Vegetables
If you live where it’s HUMID: “To condition the fruit, take the dried fruit that has cooled and pack it loosely in plastic or glass jars. Seal the containers and let them stand for 7 to 10 days. The excess moisture in some pieces will be absorbed by the drier pieces. Shake the jars daily to separate the pieces and check the moisture condensation.” https://nchfp.uga.edu/how/dry/pack_store.html
I used to live in the DRY DESERT: As mentioned, I set my fruit and vegetables on my countertop for 5-7 days. Ten days is even better to make sure everything is dry before using your FoodSaver unit.
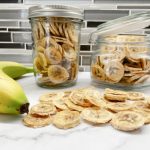
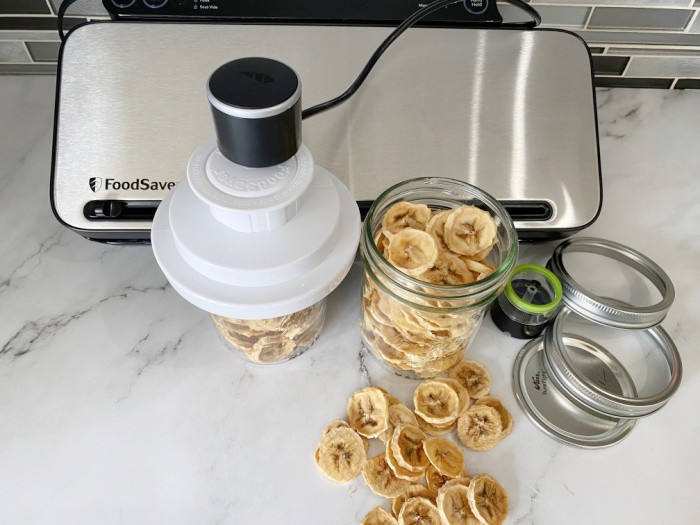
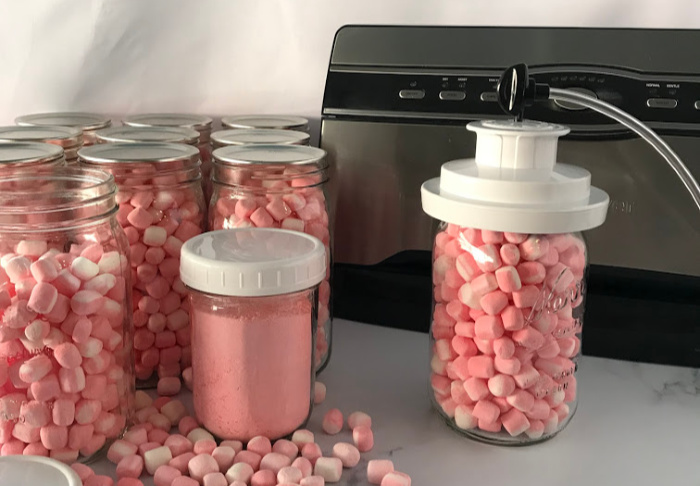
Step 6: Use Your FoodSaver
I store the banana chips in mason jars using my FoodSaver. The machine provides longer shelf life for the products since it creates a vacuum seal. If you need the White Sealing Lid this comes with both sizes and the accessory hose. The FoodSaver shown below has the accessory hose in the machine.
What Are the Benefits of Eating Bananas?
One of the best things about bananas is that there are a lot of health benefits. Bananas are good for your skin, they give you lots of energy too! If you deal with any type of gastrointestinal issues, bananas can help with that.
Are Dehydrated Bananas Good for You?
Just like anything else you eat, you may be wondering if dehydrated bananas are good for you. When you eat bananas this way, you are getting food that is low in cholesterol and sodium (salt). You also get potassium and lots of dietary fiber in your diet.
How Long Do Dehydrated Bananas Last?
When it comes to making dehydrated bananas, you may be wondering how long they last. When these dehydrated bananas are properly stored, they can last almost a year. Six to twelve months is the average! The bananas need to be stored at normal room temperature.
How Do You Know When Dehydrated Bananas Are Done?
Looking at dehydrated bananas, you may not even know when they are done dehydrating. When a banana is done dehydrating, it will be leathery and dry. However, they may also be a little sticky to the touch.
After they are done, they should not rip apart easily. Also, make sure the bananas are stored in an airtight container.
Is Dehydrated Food Healthy For You?
For the most part, any dehydrated food still has all of its nutrients. However, the air and heat can kill some nutrients like Vitamin C and A. Because of the nutrient concentration, dried foods may also have more calories per weight.
Here is my dehydrated banana chips recipe:
- 6-8 bananas
- 1 cup lemon juice (optional)
- 1 cup water (optional)
-
My Excalibur Dehydrator book said to set the temperature at (135°F) = (57°C) degrees. Turn it on while you slice the bananas.
-
Lemon water recipe: 1 cup water to 1 cup lemon juice (optional). Dip the peeled and sliced bananas in the lemon juice mixture to keep the sliced bananas from darkening. Drain the sliced bananas.
-
Place the sliced bananas on your dehydrator racks as evenly as possible without having them touch each other.
-
These took 4 hours today, the time will always depend on the thickness of the bananas and the humidity of the room you are using to dehydrate the bananas. The finished product should be leathery.
-
Be sure and "condition" your bananas before storing them.
-
If you live where it is HUMID: "To condition the fruit, take the dried fruit that has cooled and pack it loosely in plastic or glass jars. Seal the containers and let them stand for 7 to 10 days. The excess moisture in some pieces will be absorbed by the drier pieces. Shake the jars daily to separate the pieces and check the moisture condensation." https://nchfp.uga.edu/how/dry/pack_store.html
I use to live in the DRY DESERT: I set my fruit and vegetables on my countertop for 5-7 days. Ten days is even better to make sure everything is dry before using your FoodSaver unit.
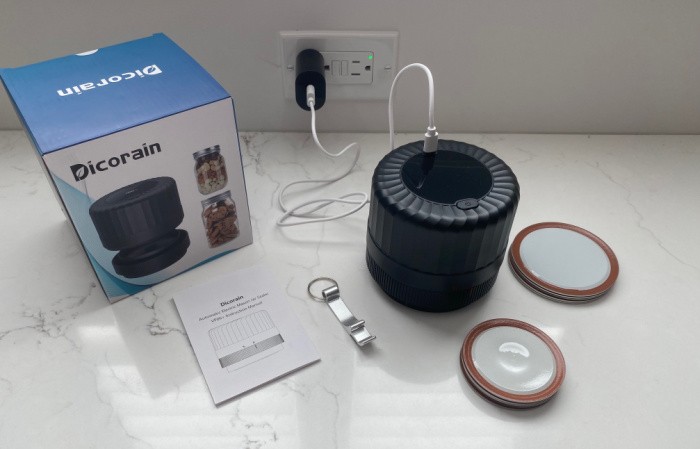
How to Use a Foodsaver With Mason Jars
Step One: Pull the Accessory Hose out from the Unit
In this model, I have to pull the accessory hose partway out of the machine.
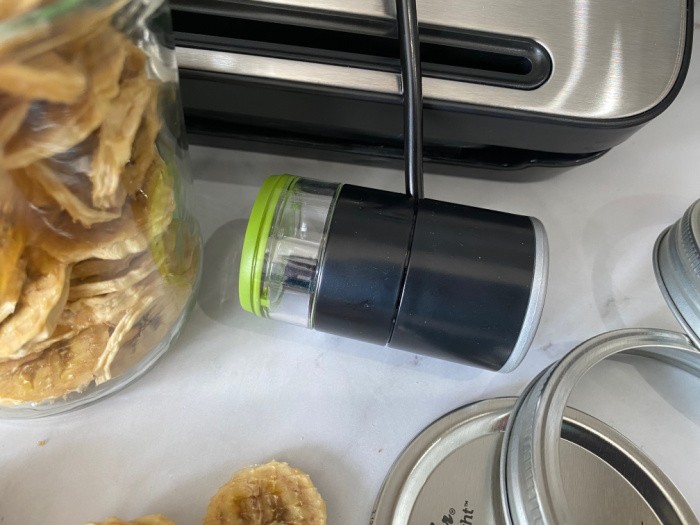
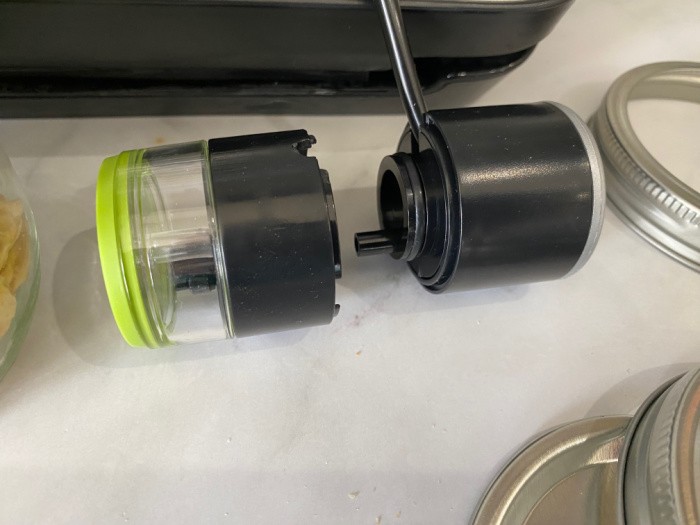
Step Two: Separate The Unit
Next, you separate the green section from the black section of the accessory unit sealer.
Step Three: Place Lids On Jars
Place your mason jar lid on your mason jar after the “conditioning” period.
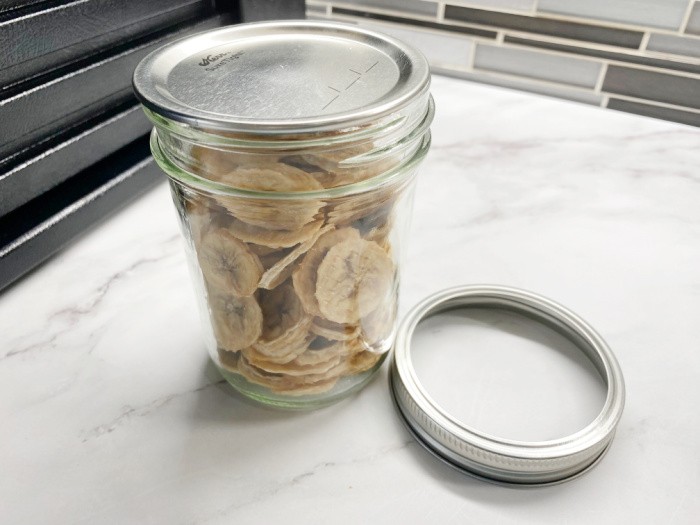
Step Four: Place Jar Jealer on Jar
Now, place the FoodSaver Jar Sealer on top of the lid you placed on the jar. Attach the black section of the accessory hose unit into the hole, and seal it according to your FoodSaver. For this one, I have to “lock” the right side before it will let me turn it on. You will screw the rings on before placing them on your pantry shelves.
Please keep in mind, when you water bath or pressure can food, you will REMOVE the rings after 24 hours, wipe down the jars, and DO NOT place the rings back on the jars. The reason you don’t leave the rings on when you store your jars, they may not have been sealed, and leaving the ring on could cause sickness if bacteria gets into the contents. In case you missed this post, Home Canning-Important Do’s and Don’ts
Can I use my oven to dehydrate foods?
Yes, you can use your oven. You would put the slices on backing sheets or cookie sheets rather than trays. Set the oven at the lowest temperature, hopefully about 170 degrees F. If your oven can’t be set that low, set it as low as possible, wad up some foil and use it to keep the oven door ajar slightly. You’ll want to check on the foods frequently so they don’t get more dry than you want. When complete, follow the instructions above for the conditioning and storing steps.
Will my air fryer work to dehydrate foods?
You can use your air fryer for air frying food products. There are various brands of air fryers available and the manufacturer should be able to provide you with an air fryer recipe to create your own air fryer banana chips, and other dehydrated product recipes too.
Here are the other Dehydrating Posts I have done:
- Dehydrating Apples
- Dehydrating Bananas
- Dehydrating Blackberries and Powder
- Dehydrating Blueberries and Powder
- Dehydrating Cilantro
- Dehydrating Cucumbers and Powder
- Dehydrating Ginger and Powder
- Dehydrating Grapes
- Dehydrating Green Onions and Powder
- Dehydrating Kale and Kale Powder
- Dehydrating Kiwi
- Dehydrating Lemons and Powder
- Dehydrating Marshmallows
- Dehydrating Peppermint Marshmallows and Powder
- Dehydrating Mushrooms and Mushroom Powder
- Dehydrating Onions and Powder
- Dehydrating Pears
- Dehydrating Pineapple
- Dehydrating Raspberries and Powder
- Dehydrating Spinach and Powder
- Dehydrating Strawberries
- Dehydrating Tomatoes and Powder
- Dehydrating Watermelon
Final Word
I hope you try dehydrating bananas because they are so easy and they make great snacks. Plus, if you can see you can’t eat those bananas sitting on the counter, dry them for later. Thanks for being prepared for the unexpected. May God bless this world, Linda


Hi Linda,
Great post. It has been quite a while since I dehydrated bananas. Might need to do that soon. I really do not like the taste of lemon very much. So, when I did dehydrate bananas, I dipped them in pineapple juice to keep them from getting brown instead of the lemon juice and water. It works just as well.
I use citric acid (like when canning) You could also use fruit fresh, they’re about the same but the FF has extra ‘stuff’ in it.
Just read the directions, it’s something like 1 tbsp in a qt of water. 15 to 30 second soak is about all it takes.
I use this for apples so they don’t get brown, whether I’m dehydrating or just taking them as a addition to the party snack table!
Everybody has variations. I prefer to use natural solutions rather than chemicals if at all possible.
Hi Bruce, thanks for sharing your tip! I love it! Linda
Hi Harry, oh that sounds yummy! I love pineapple juice! Happy Holidays my friend, Linda
Love the post – reminds me to get with it and get some healthy snacks done for the grandkids!
What I do to keep soft fruits from turning brown is to use a spray bottle and just spritz the fruit top and bottom. I use a solution of 1 tablespoon lemon juice to 1 quart of water. Hasn’t let me down yet. It also doesn’t leave a lemony taste either. I use this on apples, pears, bananas and anything else that I don’t want turning brown. The only thing it has not worked for in the past is apricots and that fruit is a different ball game!!
Also, spritzing the fruit doesn’t leave the fruit so wet that you need to pat the slices before dehydrating – cuts down on the time.
Bruce, spritzing doesn’t leave a lemony flavor to the fruit.
Hi Leanne, I love hearing everyone’s tips on dehydrating! Great comments today! Linda
I would like to know what kind of Food Saver you have.I really like it and would like to have one .I enjoy all your replies and all the people who respond to the great tips. Thank you.
Hi Carol, I have the FoodSaver brand. Mine is at least ten years old. I wish I could go into a store and see how the “newer” one works. Some have the old white tubes like mine and some have green tubes to remove the air. I called FoodSaver and they are NOT interchangeable. Thank you for your kind words. I need to do some research on this Carol. Thanks for reminding me. Linda
These are so good! Such a great snack! Thanks for sharing and for the great tips!
Hi Heidi, thank you for the 5 stars, my sweet friend! Linda
I am still eating bananas I dehydrated maybe 10 yrs ago….they are in a jar and good as new
HI Sandra, I love hearing this!!! Yay!! I love dehydrated bananas! Linda
Harry,
I have got to try the pineapple juice the next time I dehydrate bananas.
Hi Ray, I want to try pineapple juice now when I dehydrate the next batch of bananas. Love it! Linda