
No-Bake Peanut Butter Bars Recipe
This post may contain affiliate links. We may earn a commission if you purchase via our links. See the disclosure page for more info.

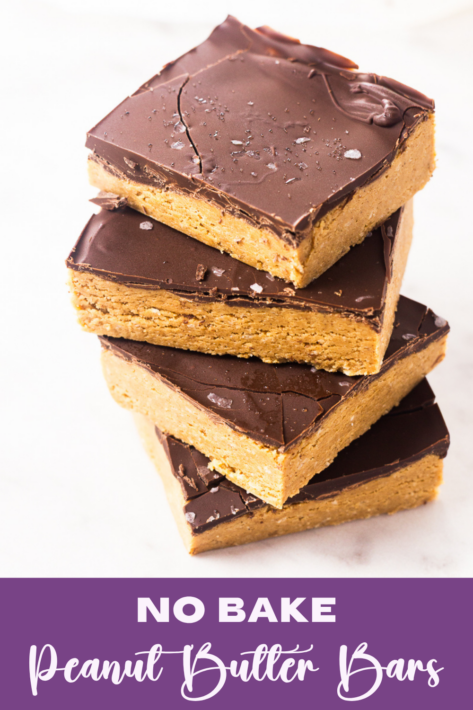
These no-bake peanut butter bars are thick, soft, and packed with peanut butter flavor, topped with a smooth chocolate layer that sets up perfectly in the freezer. No oven needed or complicated steps to follow. Just a handful of ingredients and about ten minutes of actual effort.
No-Bake Peanut Butter Bars Recipe
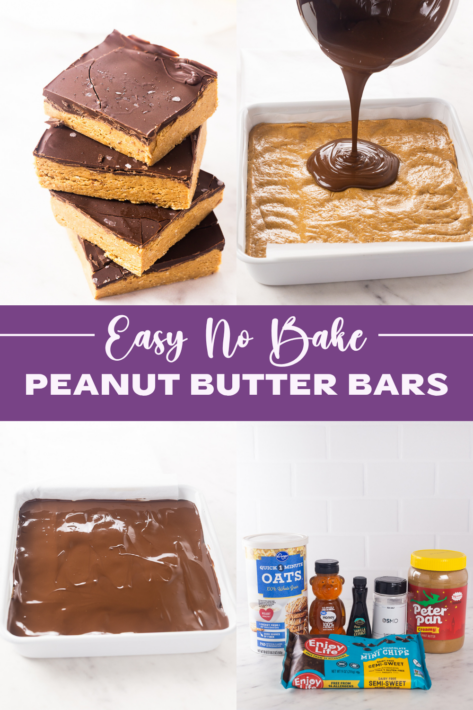
They remind me a little of a Reese’s, but not overly sweet and way more filling. The kind of thing you can keep in the fridge and grab whenever you want something quick, or make for a party and watch them disappear immediately.
Why You’ll Love These No-Bake Peanut Butter Bars
This isn’t one of those recipes you try once and forget about. They’re easy enough that you’ll end up making them again when a sweet tooth randomly strikes.
- No oven needed: You don’t have to heat up your kitchen. Everything sets in the freezer.
- Simple ingredients: Peanut butter, oats, honey, chocolate. That’s basically it.
- Naturally sweetened: The base is sweetened with honey instead of refined sugar.
- Good for meal prep: Make a batch once, and you’re set for the week. And they do have 12g of protein, so treating it like a breakfast meal prep is totally valid!
- People actually like them: Kids, adults, picky eaters… these bars will be requested over and over again. And they’re super easy to make, so you won’t mind being the designated peanut butter bar baker in your family.
The texture is honestly the best part. Blending the oats turns them into a soft flour, so the base ends up thick and smooth instead of crumbly. I definitely think the base makes the bars 10x better.
Ingredients You’ll Need
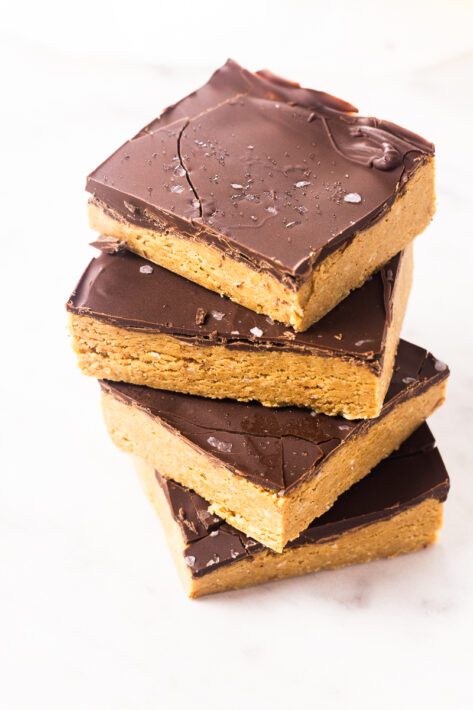
Here’s everything that goes into these no-bake peanut butter bars. I bet most of it is already in your pantry.
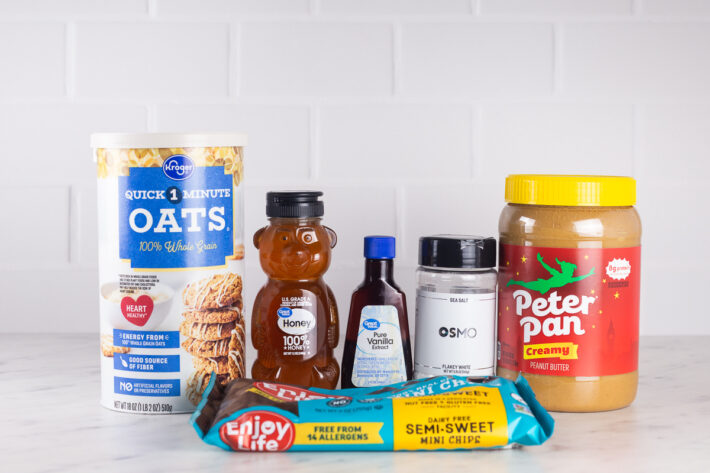
For the Peanut Butter Base
- 2 cups creamy peanut butter: Creamy works best here. If you’re using natural peanut butter, just make sure it’s really well stirred.
- ¾ cup honey: This holds everything together and sweetens it.
- 2½ cups quick oats: These get blended into a flour so the bars hold their shape.
- ½ tablespoon vanilla extract: It doesn’t seem like much, but it makes a difference and adds a bit of depth to the flavor.
For the Chocolate Topping
- 1 heaping cup mini chocolate chips: Mini chips melt smoother and faster.
- 2 tablespoons creamy peanut butter: This helps soften the chocolate layer so it doesn’t crack as much when slicing.
- Flaky sea salt (optional): I really recommend it. The sweet-and-salty combo is so good, making it taste just a bit fancier and bakery-like.
Tips for the Best No Bake Peanut Butter Bars
- Use quick oats, not rolled oats: Rolled oats will work, but the texture ends up more rough and less cohesive. Quick oats blend finer and give you that smooth, dense base.
- Press the base down firmly: Use the bottom of a glass or a mason jar to pack everything evenly. Especially the edges. It makes the bars look cleaner when you cut them.
- Let them sit before slicing: If you cut them straight out of the freezer, the chocolate can crack (like mine did a bit here; I should’ve let them sit a bit longer, so learn from my mistake!). Let them sit for about ten minutes first, and they’ll slice way nicer.
Substitutions and Variations
You can change this up pretty easily depending on what you have on hand.
- Different nut butters: Almond butter or sunflower seed butter both work. The flavor will be a little different, but the texture stays pretty similar.
- Swap the sweetener: Maple syrup works in place of honey for a vegan version.
- Chocolate options: You can use any chocolate chips you like. I used dairy-free mini chips, but regular ones work just fine. Peanut butter chips would also be really good here.
- Toppings: If you don’t have flaky salt, it’s not a big deal. You could do chopped nuts, crushed pretzels, or just sprinkle extra chocolate chips on top.
- Add protein: You can mix in powdered peanut butter (like PB2). Just reduce the oat flour slightly so the texture doesn’t get too dry.
Frequently Asked Questions
- Can I use natural peanut butter? Yes, just make sure it’s well stirred and not super oily. Regular creamy peanut butter tends to give more consistent results.
- Do these need to be refrigerated? Yes. Since there’s no baking involved, they need to stay cold to hold their shape. Keep them in the fridge or freezer.
- Can I make these without a blender? You can, but the texture will be different. The oats will stay more whole, so it’ll feel more like a chewy granola bar instead of a smooth, dense base.
- How many calories are in one bar? About 389 calories if you cut them into 16 pieces. If you go with larger bars (12 servings), it’s closer to 520 each.
- Can I double the recipe? Yes. Use a 9×13 pan and follow everything the same way. They’ll just be thicker, so you might want to cut smaller pieces.
No-Bake Peanut Butter Bars that are rich in protein. Made with simple ingredients in just 10 minutes, no oven required.
- 2 cups creamy peanut butter
- 3/4 cup honey
- 2 1/2 cups quick oats makes 2 ¼ cup oat flour
- 1/2 tbsp vanilla extract
- 1 cup mini chocolate chips heaping
- 2 tbsp creamy peanut butter
- flaky sea salt to taste
-
Line a 9½-inch square pan with parchment paper, leaving some overhang so you can lift the bars out later.
-
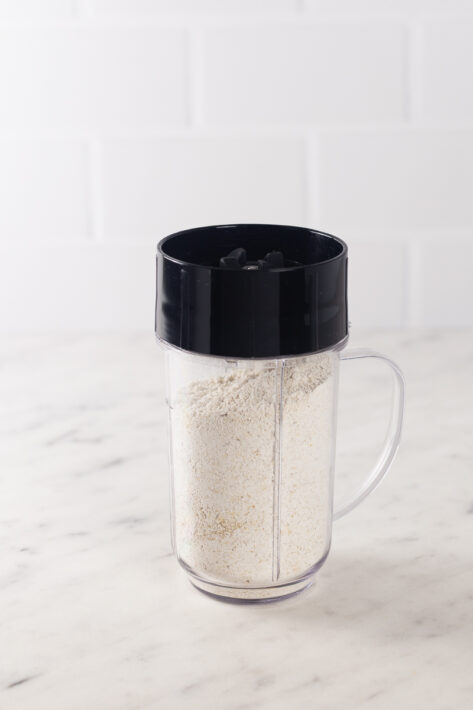
Add the quick oats to a blender or food processor and blend until they resemble a coarse flour. It does not need to be perfectly powdery.
-
In a microwave-safe bowl, combine 2 cups of peanut butter and the honey. Microwave in 30-second intervals, stirring between each, until smooth and easily stirrable, about 90 seconds total.
-
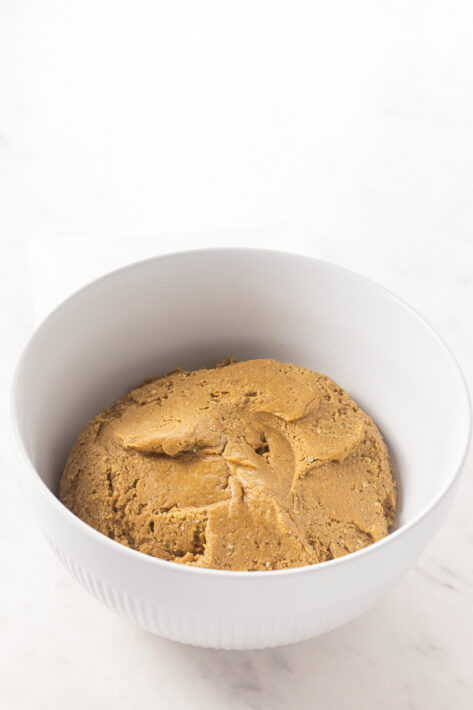
Stir in the oat flour and vanilla extract until a thick, cookie dough-like mixture forms.
-
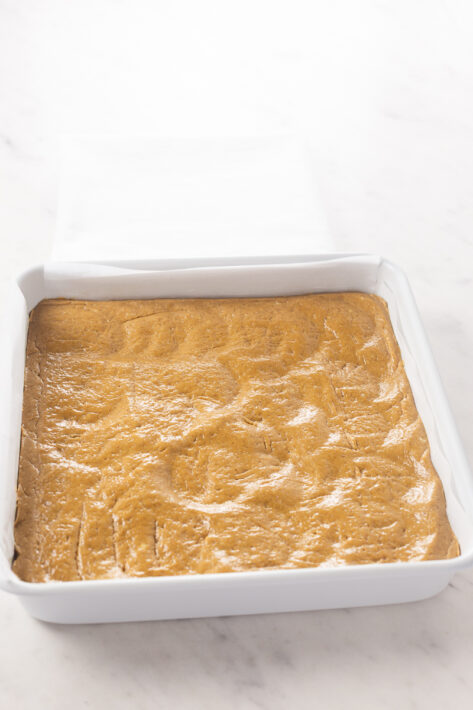
Transfer the mixture to the prepared pan and press firmly into an even layer. Freeze for 20 to 25 minutes to firm up the base.
-
In a microwave-safe bowl, combine the chocolate chips and peanut butter. Microwave in 30-second intervals, stirring between each, until smooth, about 90 seconds to 2 minutes.
-
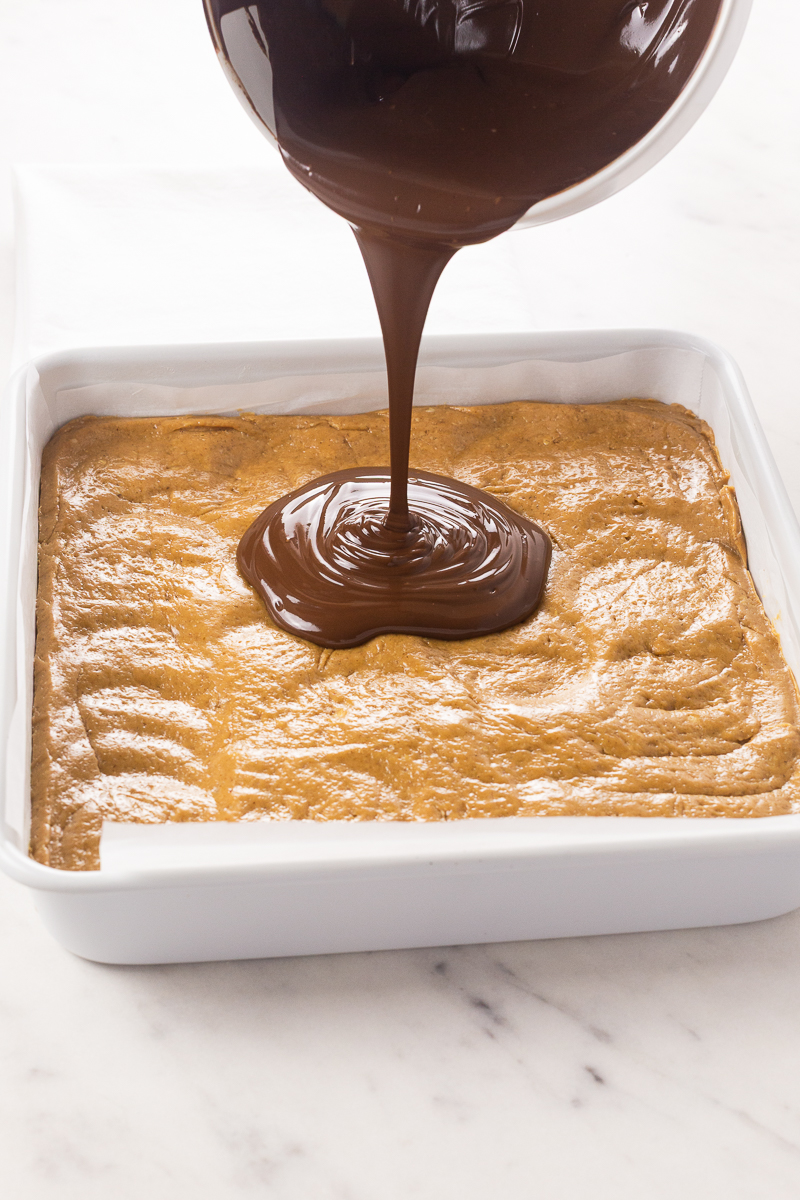
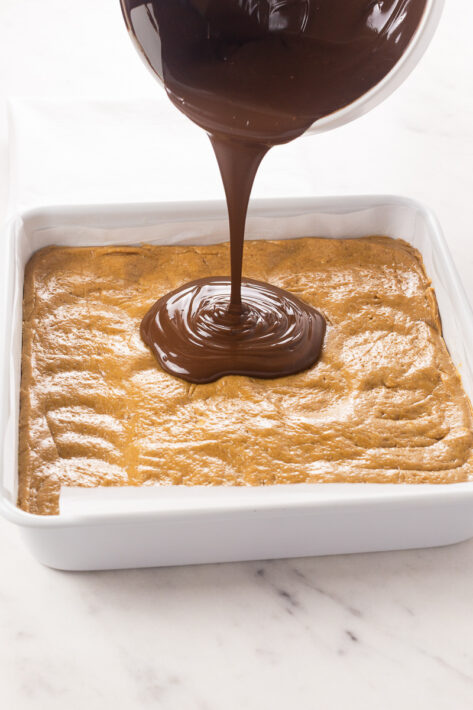
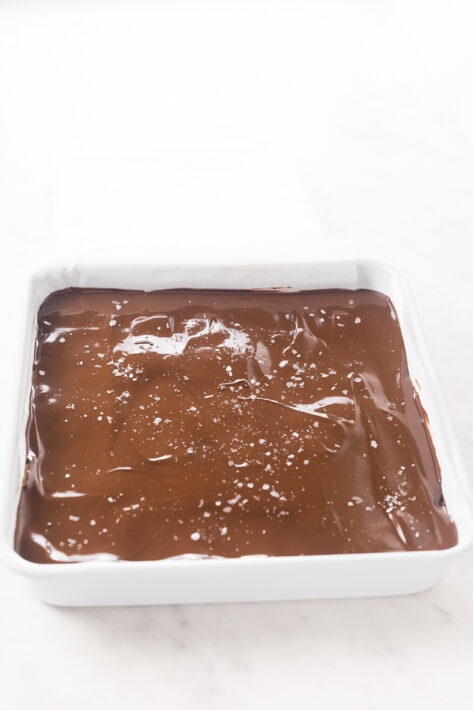
Pour the melted chocolate over the peanut butter base and spread evenly. Sprinkle the top with flaky sea salt.
-
Freeze for 60 minutes, or until set. Let stand at room temperature for 5–10 minutes before slicing into bars.
-
Use the parchment overhang to lift the bars out of the pan, then cut into 12 large or 16 small squares.
How to Store No Bake Peanut Butter Bars
- Refrigerator: Store in an airtight container for up to 7 days. If you’re stacking them, add parchment paper in between.
- Freezer: They freeze really well. Wrap them individually or store in a container with parchment between layers. They’ll last up to 3 months.
- Room temperature: Not ideal. They’ll start to soften and lose their shape if they sit out too long.
Final Word
And there you have it, friends: a batch of no-bake peanut butter bars that comes together with pantry staples and not a single minute in a hot oven. These are the kinds of treats I love keeping in my back pocket because the ingredients store well, the steps are simple enough for little hands to help with, and the results disappear from the pan faster than I can cut them. Keep a few jars of peanut butter and a good supply of oats and chocolate chips on your shelves, and you can whip these up on a busy weeknight, a hot summer afternoon, or when the power is out and you still want to bless your family with something sweet.
Store your bars in an airtight container in the refrigerator for up to a week, or slice and freeze them in layers with parchment between for an easy grab-and-go snack whenever you need one. If you try this recipe, I would love to hear how your family liked it in the comments below. Sharing simple, wholesome recipes is one of the great joys of this little corner of the internet, and I am so grateful you spent a few minutes in my kitchen today. May God bless this world, Linda


These bars look so good! I make the chocolate no-bake cookies with oatmeal and peanut butter. These bars seem similar just a different way of presenting them.
Hi Paula, thank you for the 5 stars, my sweet friend. I still want to make those peanut butter balls I made years ago. They have the same ingredients but are in balls. Similar ingredients anyway. Linda
Tom is going to make these Tuesday on his non-baking day. Have you ever tried crunchy peanut butter??
Hi Chris, thank you for the 5 stars. Oh my gosh, crunchy peanut butter would be even better! Great idea! Linda
This one is a winner in all ways. What’s not to like! Your reader who mentioned crunchy peanut butter….a good option!
Thanks!
Hi CAddison, thank you for the 5 stars, my sweet friend! Yes, now I need to try crunchy peanut butter! Linda
Linda, looks wonderful!! I was just wondering if it is possible to make the oat flour part from regular rolled oats?
Thanks so much!
JESS
Hi Jess, thank you for the 5 stars, my sweet friend. I ground up the oats into “Oat flour”; I would try it for sure. Linda
My favorite flavor together! Peanut butter and chocolate! Yumm! I’m saving this and making it for Thanksgiving and Christmas. (Shh, Larry’s birthday is on Thanksgiving this year.) I’ll be making these for him! IF I can get some sugar free chocolate chips.
Hi Deborah, thank you for the 5 stars, my sweet friend. I fixed the recipe card. I tried something first and decided I didn’t like it. Now it’s one page. Anyway, I forgot you told me you can get sugar-free chocolate chips. Yay! Linda