Apples: Everything You Need To Know
This post may contain affiliate links. We may earn a commission if you purchase via our links. See the disclosure page for more info.

I am sure we have all heard the saying: “An apple a day keeps the doctor away.” I, for one, know that when I eat healthier, I tend to be less sick throughout the year. However, I have found that when I buy fresh fruit like apples, they tend to go bad before I have a chance to eat them. So I typically only buy 10-12 apples at a time.
Related: 12 Fantastic Uses for Apples
The key to a healthier life is being knowledgeable about the food you are putting into your body. Below, you will learn everything you need to know about fresh apples.
Health Benefits
As a prepper, I can tell you that apples are one of the best sources of vitamins and nutrients, and are essential to have around, especially if things hit the fan. In fact, they were ranked in Medical News Today’s feature: “Top 10 Healthy Foods.” Apples are a nutrition powerhouse rich in antioxidants, flavonoids, and fiber. Here’s what you can get in just an apple:
- Vitamin C: Vitamin C is a natural way of boosting the body’s immune system and fighting against infectious agents. It is also a powerful antioxidant.
- B-Complex: Vitamins riboflavin, thiamin, and vitamin B6 are all a part of the B-complex. These vitamins are essential in maintaining red blood cells and keeping the nervous system in good health.
- Dietary Fiber: As we know, fiber helps us poop! It is also good at keeping bad cholesterol from rising in your blood.
- Phytonutrients: These don’t get talked about enough, but Phytonutrients actually help protect you from the effects of free radicals.
- Minerals: Calcium, phosphorus, and potassium are all found in apples, which makes this fruit great for your bones, heart, and other parts of your body.
Benefits of Eating Apples
Because of these amazing nutrients, an apple a day can quite literally keep the doctor away. Check out the benefits you get from eating an apple a day:
- Reduction in the risk of stroke
- Lower levels of Cholesterol
- Reduced risk of diabetes
- Helps prevent dementia
With all the benefits of an apple, you are going to need to know how to keep them in your pantry longer!
5 Tips for Picking Fresh Apples
Keeping apples in your pantry longer starts with picking the right ones from the beginning. Here are five tips for choosing fresh apples:
- Check the firmness: You want an apple that is firm to the touch. Avoid picking noticeably soft apples, those with indents that are easy to feel, or those that are discolored.
- Examine the apple: You want to make sure the apple has no spots of decay. Inspect the whole thing.
- Give it a sniff: Seriously, you want a fresh, sweet aroma. If you don’t have that, put it back.
- Look at the color: Although the color doesn’t always indicate a good or bad apple, it is a great way to determine how ripe it actually is. If you want to save it, less ripe is better. If you want to eat it, the riper it is, the better.
- Know popular varieties: This will help you determine the characteristics of your apples, such as their color, size, shape, and appearance.
Popular Varieties and How to Use Them
With so many apple varieties out there, it is essential to know the characteristics of each type of apple. This will help you pick apples that are best for baking, better for eating fresh, best for canning, and which ones you can keep in your pantry for a long time. The chart below will help you with picking the best apples for your needs:
| Apple Varietal | When to Pick | Uses | Home Storage |
| Red Delicious | September | Fresh eating, salad | 3-4 months |
| Golden Delicious | September | Fresh eating, dessert, or processing | 3-4 months |
| Gala | Mid-August | Fresh eating | 1-3 months |
| Granny Smith | October | Baking, apple sauce, juice | 4-5 months |
| McIntosh | September | Fresh eating, salads, canning, pies, baking | 2-3 months |
| Fuji | October | Fresh eating, salad | 4-5 months |
| Braeburn | October | Processing, canning, pies, processing | 3-4 months |
| Mutsu | September | Fresh eating, pies, processing, canning, freezing | 4-5 months |
| Pink Lady | October | Fresh eating, baking | 3-4 months |
| Jonathan | September | Fresh eating, cider, sauce | 2-3 months |
| Honeycrisp | September | Fresh eating, salad, cooking | 3-4 months |
| Jonagold | September | Fresh eating, pies | 2-3 months |
| Cameo | September | eating | 1-2 months |
Having a variety of different kinds of apples will allow you to eat fresh apples, store apples, make applesauce, or can them. This is my favorite apple peeler and slicer: Apple Peeler/Slicer
How to Store Fresh Apples
As you can tell from the charts above, they can keep for months if you store them well. To maximize the storage life of your apples, take the following steps:
Related: Food Storage Tips You Need
- You will want to pick apples that keep well. Apples that keep well include Red Delicious, Mutsu, Braeburn, Fuji, and Granny Smith.
- Eat any imperfect apples first. You can also use them to make applesauce, apple butter, or pie filling.
- Sort your apples. You will want to sort them by variety and size. Larger sizes will go bad quicker.
- Place your sorted apples in baskets or boxes. Be sure to wrap each apple in the newspaper. This way, if one apple goes bad, it won’t spoil the whole bunch.
- Store apples in a cool, dark place. Ideally, you will want them stored in a basement, garage, shed, fruit cellar, or refrigerator. You want to store them at 30-32 degrees Fahrenheit with 90% humidity.
- Check often for signs of spoilage.
Keep in mind that the apples will suffer freeze damage if the temperature is lower than 30 degrees. And, they will ripen much quicker if it rises above 40 degrees.
If you want to keep your apples even longer, you may want to can them, make them into applesauce, or dry them. I am a Master Canner and Preserver, and this is the book I recommend: USDA Canning Book or Ball Canning Book.
You are likely aware that, as of September 2025, Thrive Life and NutriStore, the food storage companies, have closed due to slow sales and other reasons, I’m sure.
How to Can Apples
Canning apples is a great way to stock up and keep them for much longer than 2-5 months. Here’s the low-down on canning your own apples:
- Choose a crisp, not meaty apple variety. Some of the best varieties for canning include Fuji, Braeburn, Jonagold, Golden Delicious, Pink Lady, and Honeycrisp.
- Cut and peel your apples. To keep them from discoloring, you can place apples in a solution of 1 gallon of water to ¾ cup of lemon juice. You will want to drain before continuing to can.
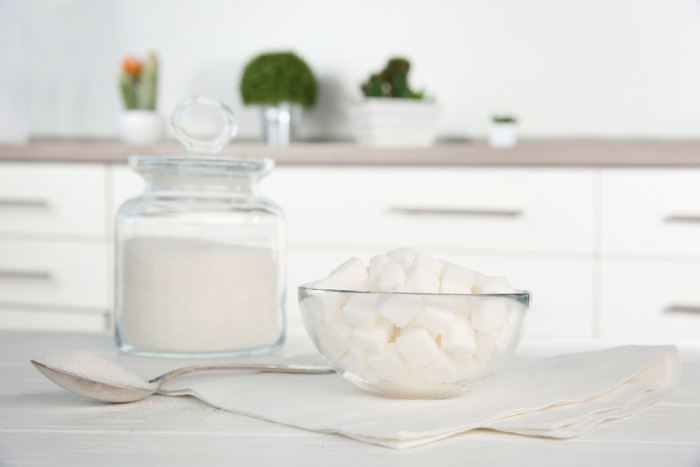
- Make the syrup. Place 1 cup of sugar into 4 cups of water in a saucepan. Heat until the sugar is dissolved.
- Drain the lemon juice water from the apples and add them to the syrup. Simmer the apple pieces in the syrup for about 5 minutes.
- Pack your hot apples and syrup into sterilized jars. You will want to leave ½ inch of headspace.
- Wipe the jar rims and threads with a clean rag to remove any residue. Set your lids on the jars and screw on the bands.
- Place the sealed jars into a boiling water canner for 20 minutes (altitude 1-1000 ft.) to process the jars. 25 minutes (altitude 1001-3000 ft.) to process the jars. 30 minutes (altitude 3001-6000 ft.) to process jars. 35 minutes above (altitude 6000 ft.) to process jars.
- Let jars cool for 24 hours. Then store in a cool, dry place for up to a year. Please remove the rings.
Applesauce
If you want to have applesauce instead of sliced apples, you will boil apple quarters until they are very tender, stirring constantly to keep them from scorching. Then, you will want to press the cooked apples through a food mill or sieve. This will make pulp. The pulp is what you will use to pack into your jars. You can add 1/8 cup of sugar per quart if desired. Then, you will follow the above directions to process your applesauce.
Related: Home Canning Do’s and Don’ts
How to Dry Apples
Let’s be honest here, how many of you head to the cabinet to grab a sweet snack you shouldn’t be eating?! I know I do, way too often. So, instead of feeding into my cravings for sugary, sweet unhealthiness, I turn my apples into a sweet treat.
Dried ones are the perfect substitute for unhealthy sugary snacks. So, here’s what you need to do:
- Wash your apples. You don’t need to peel them because the peel adds flavor and increases your fiber intake.
- Remove the core. Then, slice it into thin slices using an apple peeler or slicer.
- Dip the slices into a solution to prevent them from browning. To keep them from discoloring, you can place apples in a solution of 1 gallon of water to ¾ cup of lemon juice. You will want to drain them before continuing to preserve them.
- Lay the slices on a sheet in a single layer.
- You can dry your slices in a food dehydrator, in the oven, in the sun, or on a wood stove.
Final Word
Do you have any tips on storing, canning, or drying fresh apples? Let me know in the comments below! Thanks again for being prepared. May God bless this world, Linda
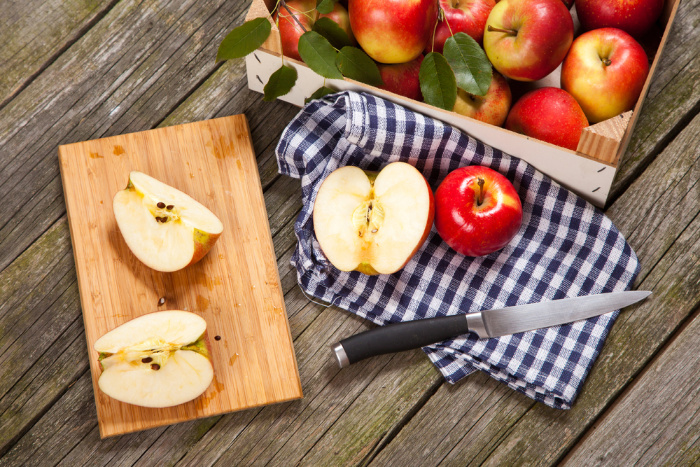
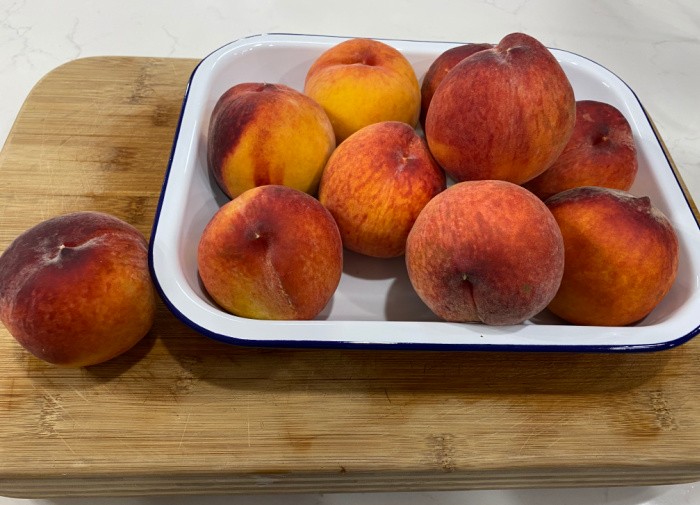
Copyright Image: Fresh Red Apples in Crate Depositphotos_56269639_S


And if you have too much applesauce you can turn some of it into apple butter. And if you have kids or grandkids who like fruit rollups, trying turning some of that apple butter into fruit leather in your dehydrator. Just put it on a nonstick sheet in the dehydrator in a thin layer and wait until it’s pliable but no longer sticky to the touch. Yummy stuff even for grownups who are kids at heart. 🙂
Hi DmWalsh, I loved making leather years ago!! My kids loved it! Great tip! Linda
Linda ~
I grew up in apple country and I did just about everything having to do with apples except grow them! When I was in high school, I picked apples in the fall (school let out so the orchardists had cheap labor!), thinned apples in the spring/early summer and when I was between high school and college, I packed apples and sorted apples. Now, I live elsewhere and when I buy apples at the farmer’s market, fruit stands, or the grocery store, I take FOREVER! I am looking those apples over so well and am so careful when I place them in the bags and cart as well as on the check stand. I even ask the checker to be extra careful with them! I am a pain in the **** when it comes to buying apples!
I have done just about everything you can do with an apple as well! Something my mother did during apple season was put up a LOT of pie apples in the freezer. For those who might be interested: Start with your pie plates and put a ziplock bag in the plate laying the bag on its side. Then peel and slice the apples and place them in the bag until you have enough apples for a pie. Seal the bag and place the pie plate and bag of apples in the freezer. This insures that the apples, once frozen, have the shape of the pie plate. Once frozen, you can remove the pie plate and leave the bag of apples in the freezer until ready to use. If you wish, you can add sugar and cinnamon as well as butter and flour but we never did. I remember one year, we put up enough for 25 pies. Then, when ready to make a pie, simply make your crust, pull out a frozen bag of apples (they will fit in the crust just the way you froze them), add your butter, flour, cinnamon and sugar as you would for any apple pie if you did not do this before freezing. Bake – adding a bit more time to the baking process. Mom could get a call from a friend that they were stopping in (we lived in the country) and have a pie baking when the friend arrived!
Another recipe that I enjoy (much to the demise of my waistline!!) is apple crisp. I live alone so this is a recipe for 2-3 servings. I have a small 6 inch diameter pie plate that is perfect for this. Preheat oven to 350F. Peel and core an apple – yes just one good sized apple. Cut into chunks and place in the pie plate – no need to oil the pie plate. For the topping, mix 1/4 cup white sugar, 1/4 cup brown sugar, 1/4 cup white flour, lots of cinnamon (I don’t measure this) and 3-4 tablespoons melted butter. Mix the dry ingredients and using a fork, mix in the butter until all is mixed well and sort of crumbly. Top the apples. Bake for 30 – 45 minutes. The length of time will be determined by the type of apple you use. Some apples are softer than others so if I have a softer apple, I bake for less time. You can test this at the 30 minute mark with a knife to see if the apple chunks are soft. If not, bake longer. If you want to make a larger crisp, just increase the number of apples and the amount of topping. For example, if I were to make one in a regular sized pie plate, I would use 3 apples and triple the topping mixture. This may also take longer to bake.
Great post, Linda
Hi Leanne, now my mouth is watering for some apple crisp! I have got to make this!! I love the small amount of portions amount! Yay!!!! Yummy!!! Linda
Linda, I don’t recall where I found this recipe – probably Pinterest – but I was looking for a crisp without oatmeal. This really hit the spot. Now, since I am going low carb, I use granulated Swerve and Swerve brown sugar replacement as well as Bob’s Red Mill finely ground almond flour. Still use the real butter though!! It works well this way.
Just wanted to post my mom’s applesauce cake recipe.
Leanne’s Mom’s Applesauce Cake
2 cups unsweetened applesauce
1 cup shortening
2 cups sugar
1 tsp baking soda
2 tsp baking powder
1 tsp cloves
2 tsp cinnamon
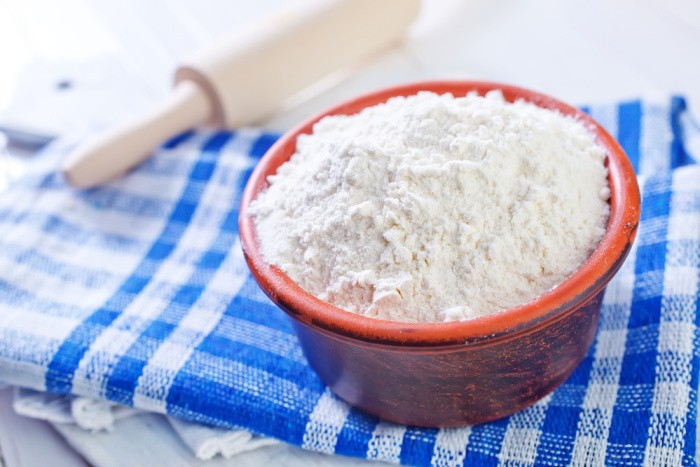
2 1/2 to 3 cups flour
1/4 cup hot water
dash of salt
chopped walnuts
Melt shortening in hot applesauce. Add sugar; mix well. Dissolve soda and baking powder in 1/4 cup hot water. Add cinnamon and cloves and add to applesauce mixture. Stir in flour and nuts. (note: start with 2 1/2 cups flour and if too runny, add the additional 1/2 cup of flour.) Bake in a greased 13X9 inch pan at 350 for 1 hour or until a toothpick comes out clean.
I rarely add nuts – aversion to cooked nuts!! And I tend to go extra heavy on the cinnamon and cloves!! I have never tried oils other than shortening but since it is melted, I think a regular oil might just work!! Also, we always started with fresh applesauce not canned or frozen.
Hi Leanne, oh I need to make this applesauce cake! Girl, I haven’t had an applesauce cake for years! Thank you! Linda
Linda,as a stage 4 cancer survivor<<<>and for the last 11 years i have dedicated my life in holistic health RESEARCH,I HAVE LEARNED A LOT ABOUT FOOD,ALL FRUITS BOUGHT IN STORES ARE SPRAYED WITH…(DEADLY OVER TIME…WHEN INGESTED!!!!!),SO THEREFORE,THIS TIME OF THE YEAR IN BARRIE WHERE I LIVE,I PICK “”CRAB APPLES AND WILD APPLES ONLY””…TO DATE I HAVE PICKED AND DEHYDRATED OVER 80 POUNDS…NOT BAD FOR A <<> OF 86 (LAST MONDAY)….JUST MY TWO CENTS WORTH ON THE SUBJECT OF APPLES!!!!!!! LOVE ALL…MARIO(ALSO KNOWN AS….C.O.M…..= CRAZY OLD MAN……)
Hi Mario, Happy Late Birthday! 86 years old! I love hearing you took the holistic health route with stage 4 cancer! Whatever you are doing it’s working! Thank you for the reminder on crab apples and wild apples (I didn’t know there was such a thing as wild apple). My grandmother had a crab apple tree. Dehydrating 80 pounds of pesticide free apples is a blessing! I don’t think you are a crazy old man, keep up the good work! Linda
Linda…thanks….God bless you and yours always….love,Mario
Hi Mario, you are so welcome, God bless you and yours, Love Linda