Red Velvet Cheesecake Brownies
This post may contain affiliate links. We may earn a commission if you purchase via our links. See the disclosure page for more info.

Red Velvet Cheesecake Brownies! If you’ve ever stood at a dessert table unable to decide between a brownie, a slice of red velvet cake, and a square of cheesecake — congratulations, this recipe was made for you. These red velvet cheesecake brownies bring all three together in one gorgeous, fudgy bar that looks incredibly impressive but’s well within reach for any home baker.
What sets this recipe apart is the subtle addition of white vinegar to the brownie batter. The acidity brightens the red color and adds just a bit of tang that you’d expect from a proper red velvet recipe. Dutch-processed cocoa gives a deeper, smoother chocolate flavor than regular cocoa, and using only egg yolks (rather than whole eggs) in the cheesecake swirl adds extra richness and a creamier texture that sets beautifully during baking.
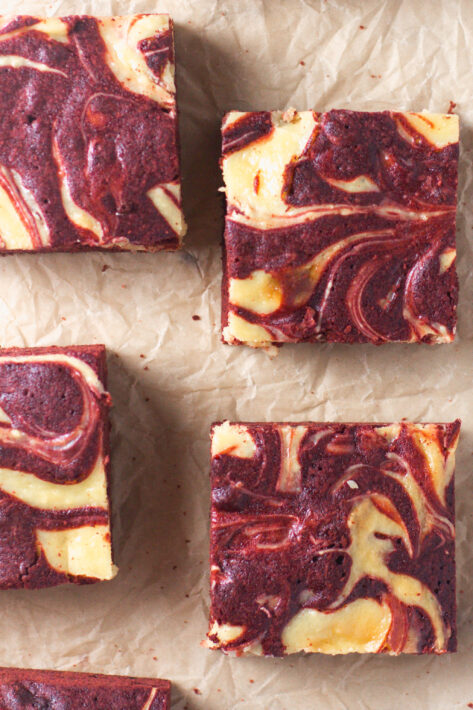
What Are Red Velvet Cheesecake Brownies?
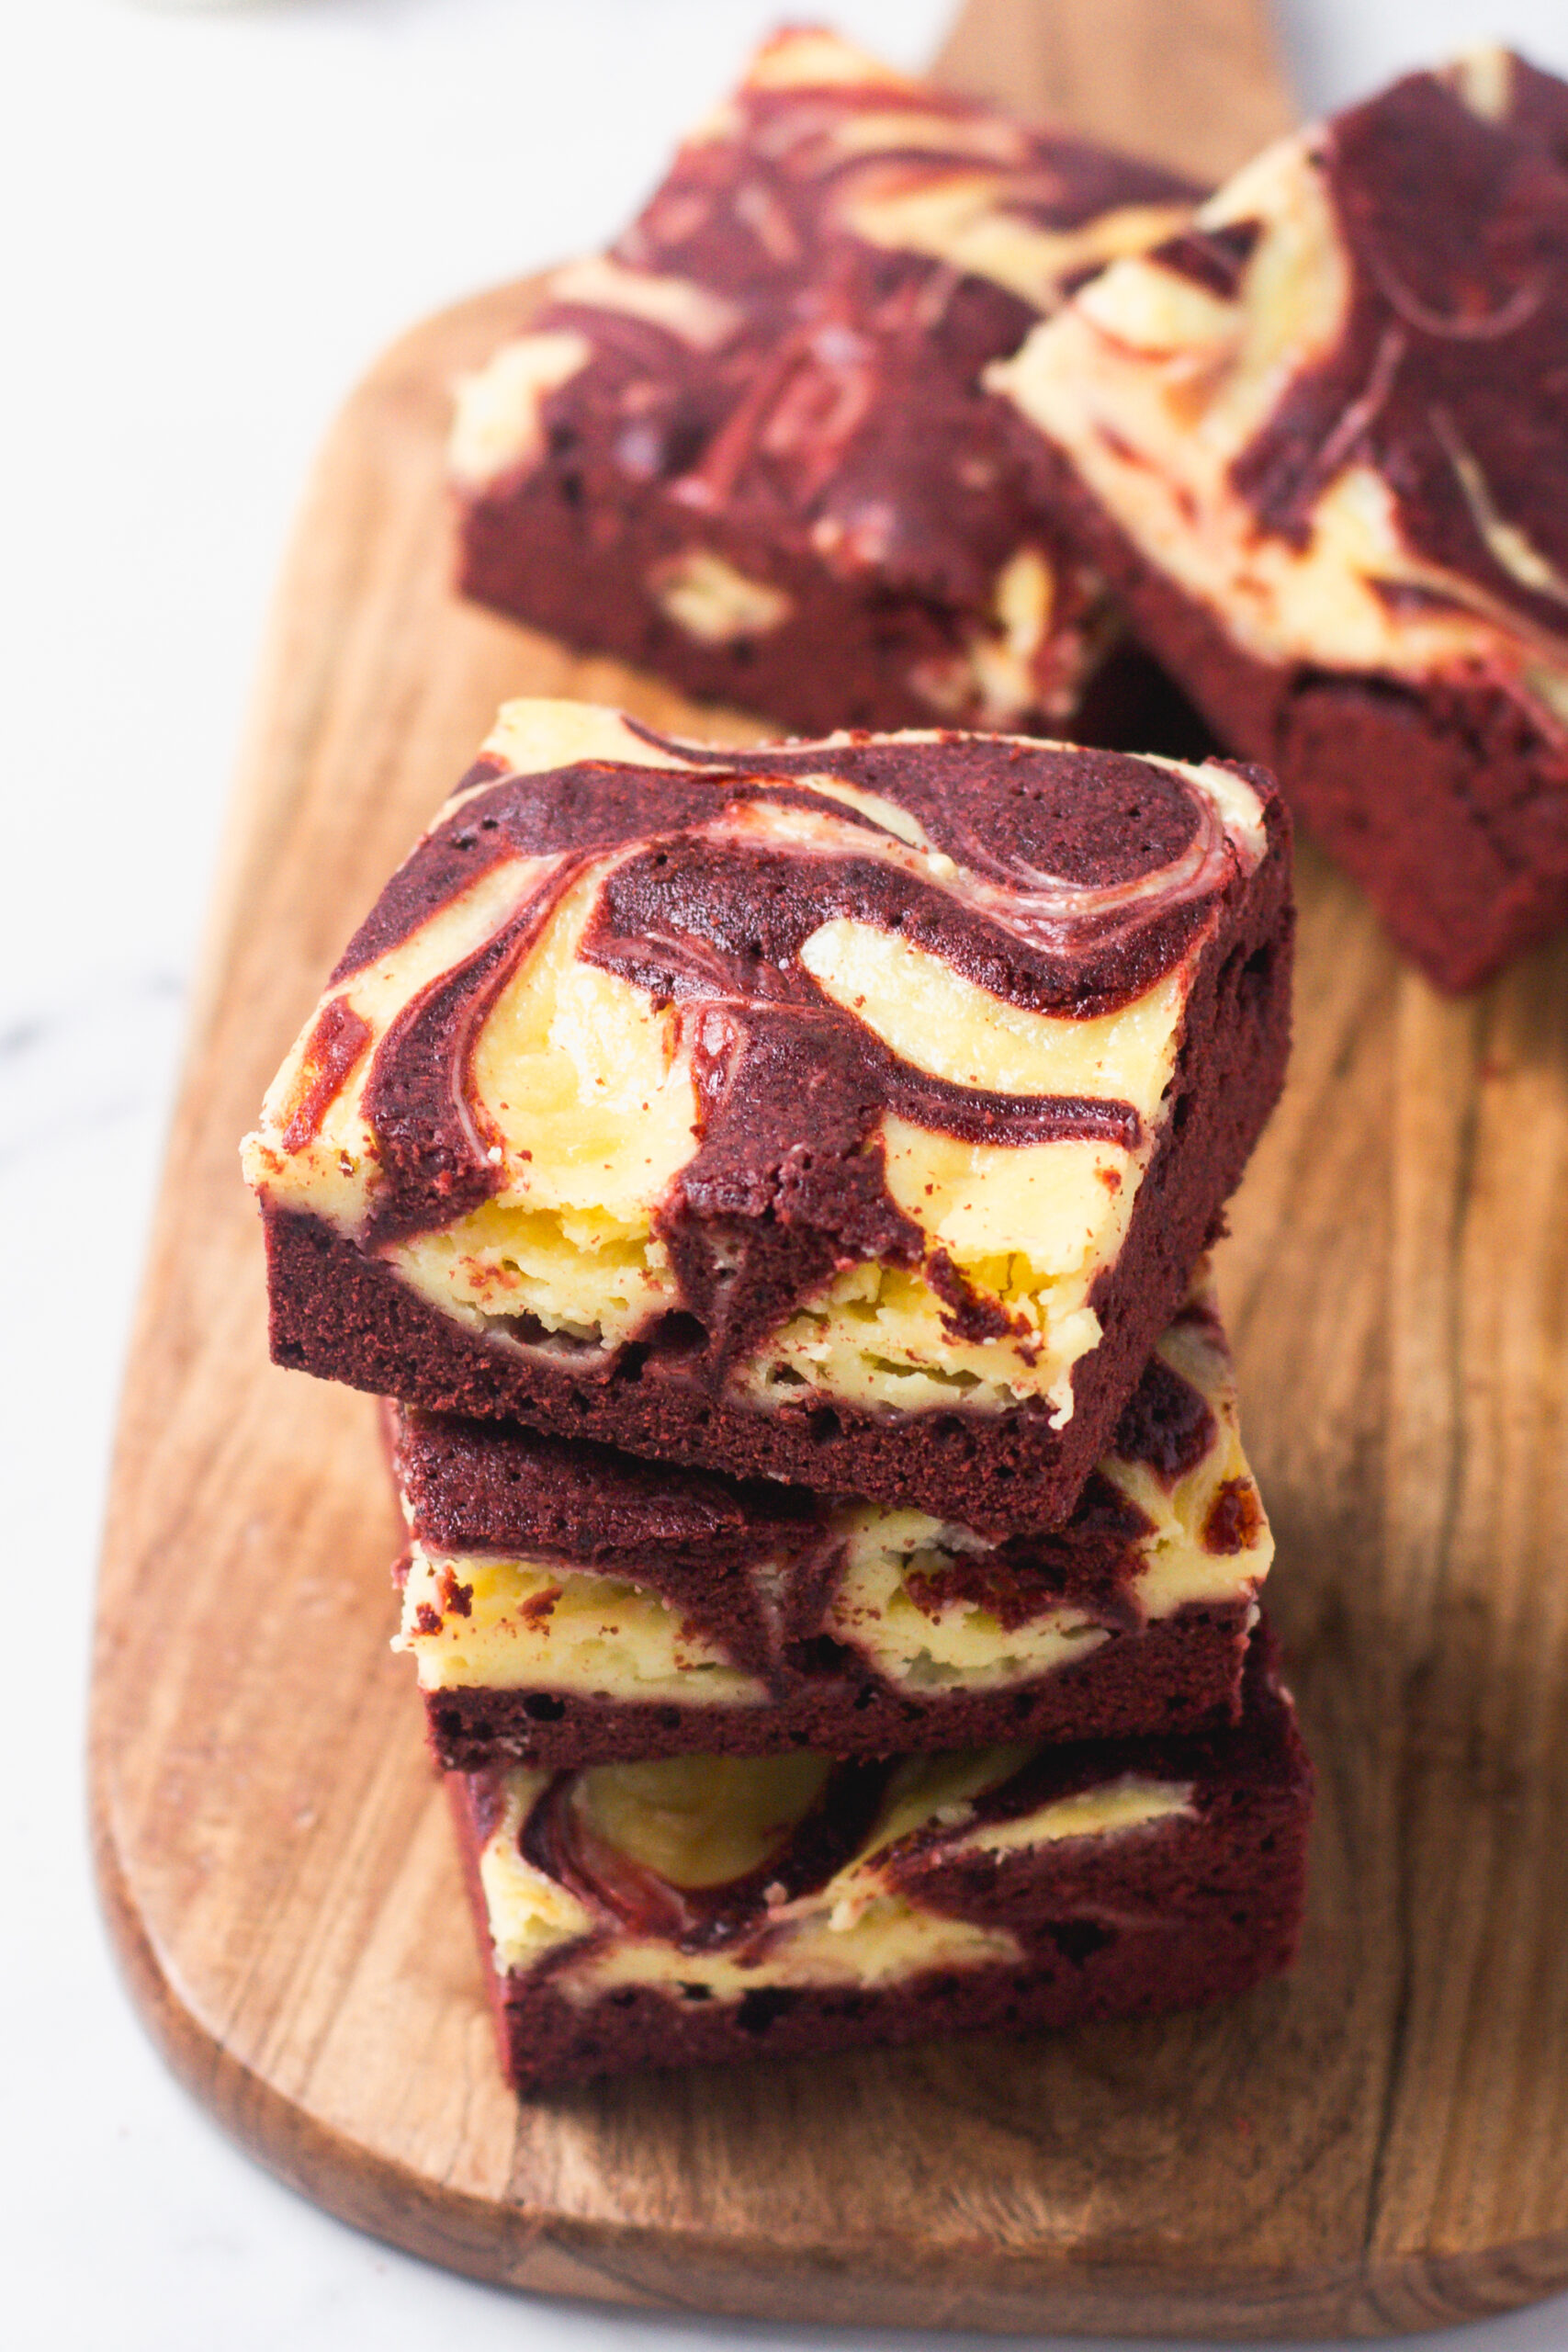
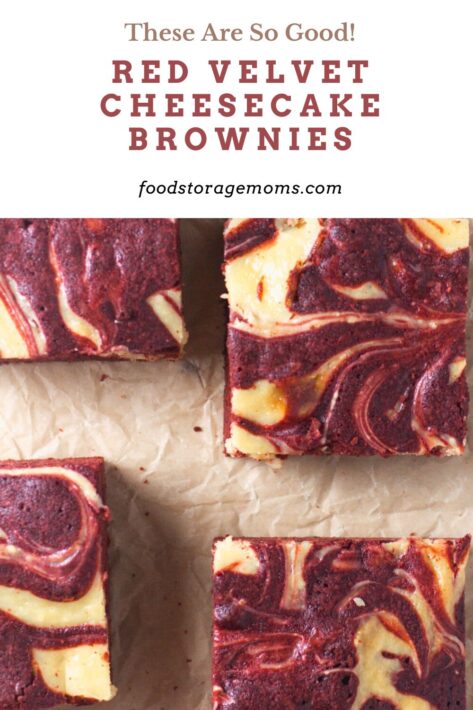
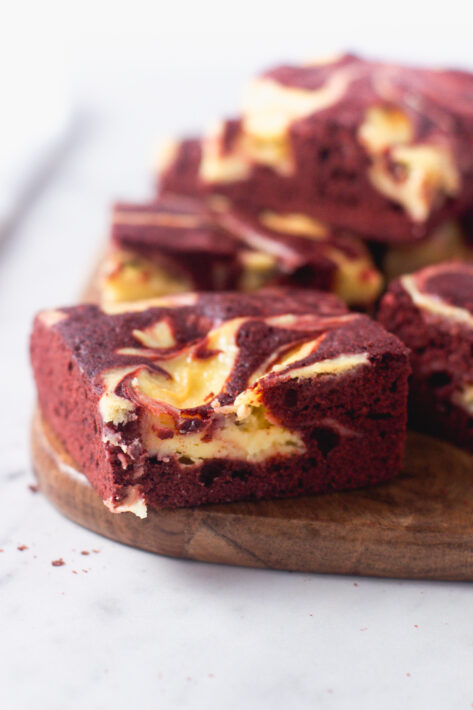
Red velvet cheesecake brownies are a decadent dessert bar that combines two beloved classics into one irresistible treat. The base is a rich, fudgy red velvet brownie — made with Dutch-process cocoa, a splash of white vinegar, and red food coloring for that signature crimson color, then topped with a silky, sweet cream cheese mixture that gets swirled right into the batter before baking.
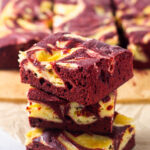
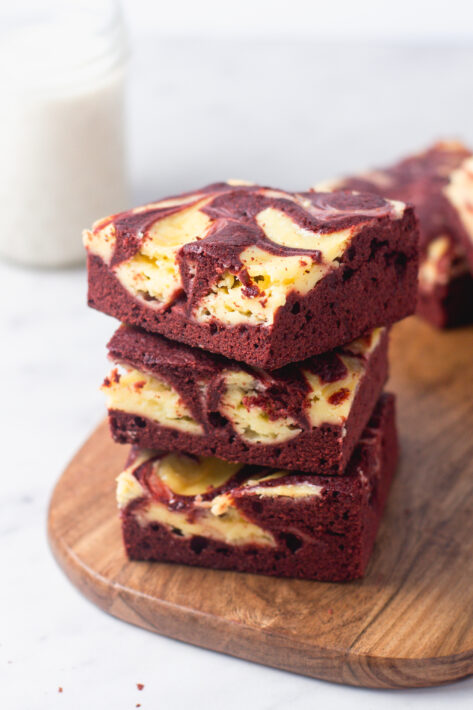
The result is a stunning marbled bar with a dense, chocolatey brownie texture woven together with pockets of creamy, tangy cheesecake in every single bite.
Frequently Asked Questions
Can I make red velvet cheesecake brownies ahead of time? Absolutely, they’re actually better the next day! Bake them in advance and store covered in the refrigerator. Slice just before serving.
Why did my cheesecake swirl sink to the bottom? This usually happens when the brownie batter is too thin, or the layers aren’t built correctly. Follow the layering technique in the instructions; spreading ¾ of the brownie batter first before adding the cheesecake dollops creates the right foundation.
Can I use a box mix for the brownie base? You can, but the flavor and texture won’t be quite the same. If you’re in a pinch, use a red velvet box cake mix prepared more densely (less liquid) and follow the cheesecake swirl portion of this recipe as written.
Do red velvet cheesecake brownies need to be refrigerated? Yes! Because of the cream cheese, these must be refrigerated. They’ll keep well for up to 5 days in an airtight container.
My swirls look muddy; what happened? You likely over-swirled. Less is truly more here. Just a few slow figure-eight passes with a butter knife is all you need; stop sooner than you think you should.
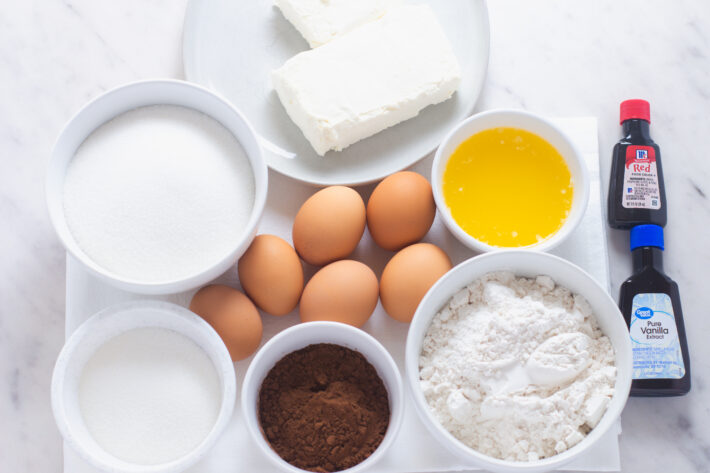
Ingredients You’ll Need to Make Red Velvet Cheesecake Brownies
Understanding why each ingredient is here will make you a more confident baker — and help you troubleshoot if anything goes sideways.
Red Velvet Brownie Base
Unsalted butter, melted: Melted butter gives brownies that dense, fudgy texture we all love. Using unsalted butter gives you control over the saltiness — we add fine sea salt separately so the flavor really pops.
Dutch-process cocoa powder: Don’t swap this for natural cocoa if you can help it. Dutch-process cocoa is alkalized, giving it a darker color and a smoother, less acidic chocolate flavor that’s perfect for red velvet.
White vinegar: This is the secret weapon. The acidity reacts with the cocoa to enhance the red color and adds that characteristic slight tang of red velvet baked goods. One teaspoon makes a real difference.
Red food coloring: Two tablespoons give you that deep red color. Gel food coloring works too; use about 1–2 teaspoons if substituting.
Cheesecake Swirl
Full-fat cream cheese, very soft: Use full-fat cream cheese at room temperature. Cold or low-fat cream cheese won’t beat smooth, and lumps in your cheesecake swirl are no fun.
Egg yolks only: Using just the yolks rather than whole eggs gives the cheesecake layer extra richness and a creamier texture that sets beautifully during baking.
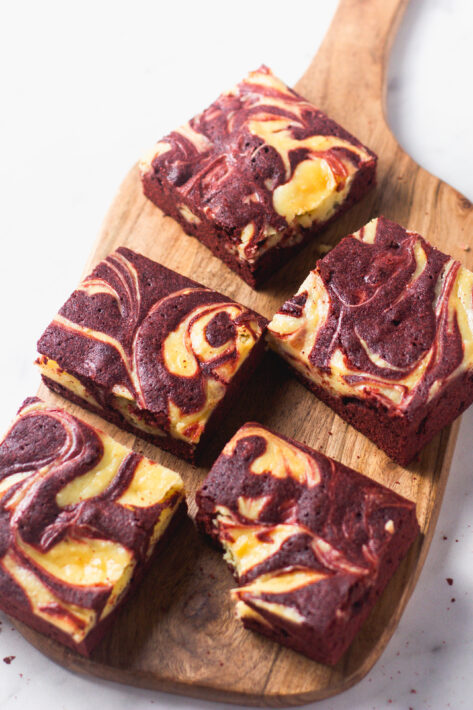
Pro Tips for Perfect Red Velvet Cheesecake Brownies
Line with parchment paper. Leave the overhang on the long sides so you can lift the whole slab out cleanly before cutting. This is how you get those beautiful, neat edges. I like to lightly rub a few streaks of butter on the pan first to help the parchment stick and stay in place.
Don’t over-mix the brownie batter. Once you add the flour and cocoa, fold gently just until no dry streaks remain. Over-mixing develops gluten and makes your brownies tough and cakey rather than fudgy.
Make your swirls slow and deliberate. Use a butter knife with wide, lazy figure-eight motions — about 4 to 6 passes is usually enough. Over-swirling will muddy the colors into a brown mess. If needed, gently swirl the edges after your initial passes, as they can be a bit trickier. Just be careful not to drag the knife too far into the swirls you’ve already created.
Don’t skip the chill time. Refrigerating the brownies after they cool makes a huge difference in how cleanly they cut. It’s worth every minute of the wait.
Use a 9×13-inch metal pan. Metal conducts heat more evenly than glass, giving you a better, more consistent bake.
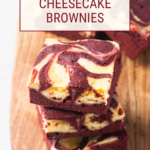
The best Red Velvet Cheesecake Brownies! Thick, fudgy, with sweet cheesecake swirls.
- 1 cup unsalted butter melted and slightly cooled
- 1¾ cups granulated sugar
- 4 large eggs room temperature
- 2 tbsp red food coloring
- 2½ tsp vanilla extract
- 1 tsp fine sea salt
- 1 tsp white vinegar
- 1½ cups + 2 tablespoons all-purpose flour
- 6 tbsp Dutch-process cocoa powder
- 12 oz full-fat cream cheese very soft
- 1/2 cup granulated sugar
- 1 tsp vanilla extract
- 2 large egg yolks room temperature
-
Preheat the oven to 350°F (176°C). Lightly butter the bottom and sides of a 9×13-inch metal pan to help the parchment adhere. Line the pan with one strip of parchment paper, leaving an overhang on the long sides only. The short sides should remain unlined.
-
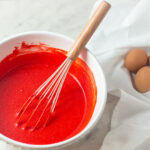
In a large bowl, whisk the melted butter and sugar together until fully combined, about 2–3 minutes. Add the eggs one at a time, whisking just until incorporated after each addition. Stir in the red food coloring, vanilla, salt, and vinegar until evenly mixed.

-
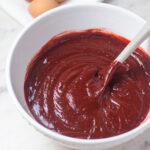
Sprinkle the flour and cocoa powder over the batter. Gently fold with a spatula until just combined, and no dry streaks remain. Do not over-mix.
-
Spread about three-quarters of the brownie batter evenly into the prepared pan, smoothing it into an even layer. Set the remaining batter aside.
-
In a separate bowl, beat the cream cheese and sugar until completely smooth. Add the vanilla, then the egg yolks one at a time, mixing until fully incorporated and smooth.
-
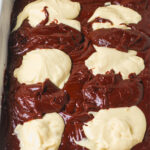
Dollop the cheesecake mixture evenly over the brownie base, creating six evenly spaced dollops. Spoon the remaining brownie batter between and around the cheesecake dollops, using it to separate the cheesecake from the brownie base and clean up any overly messy areas.
-
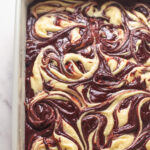
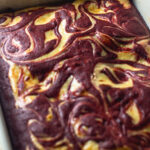
Using a butter knife, gently swirl the batters together using slow, wide figure-eight motions. Stop while the marbling is still clearly defined.
-
Bake for 38–40 minutes, rotating the pan halfway through, until the edges are set and a toothpick inserted into the brownie portion near the center comes out with a few moist crumbs.
-
Allow the brownies to cool for about two hours. Let them cool in the pan at room temperature for one hour, until the bottom of the pan is just barely warm. Then transfer to the refrigerator and chill for an additional hour to ensure the cleanest cuts.
-
Remove from the refrigerator and cut into twelve even pieces. Trim the edges if desired for a more uniform appearance.
-
To make the cheesecake swirls: use a butter knife with wide, lazy figure-eight motions — about 4 to 6 passes is usually enough.
If needed, gently swirl the edges after your initial passes, as they can be a bit trickier. Just be careful not to drag the knife too far into the swirls you’ve already created.
How to Store and Serve
Because of the cream cheese, these red velvet cheesecake brownies must be refrigerated. Place them in an airtight container (single layer, or with parchment between layers), and they’ll keep well for up to 5 days.
They’re delicious cold straight from the fridge. If you prefer them a little softer, let them sit at room temperature for 15–20 minutes before serving.
For longer storage, these brownies freeze well. Wrap individual bars in plastic wrap, place in a freezer bag, and freeze for up to 3 months. Thaw overnight in the refrigerator.
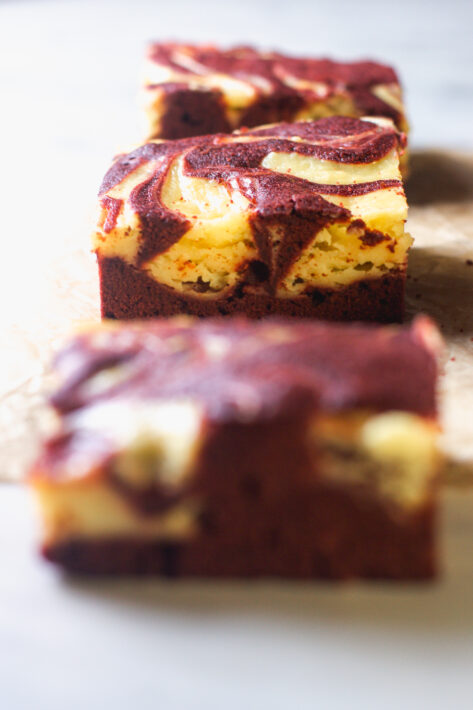
These red velvet cheesecake brownies are one of those recipes that reliably earn a “wait, you made these?!” reaction at every gathering. They look impressive, but the technique is completely achievable for any home baker.
The beauty of these Red Velvet Cheesecake Brownies is that most of the time involved is hands-off. Plan on about 20 to 25 minutes of active prep, which includes stirring together the red velvet brownie batter, beating the cream cheese layer until smooth, and swirling the two together in the pan. I always set my cream cheese and eggs on the counter about 30 minutes before I start so everything blends without lumps. The brownies bake for roughly 30 to 35 minutes at 350°F (176°C), and you’ll know they’re ready when the edges are set and the center has just a slight jiggle.
After Baking
After baking, let them cool on the counter for about an hour, then tuck them into the refrigerator for at least 2 to 3 hours, or overnight, if you can wait. That chill time is what gives you those clean, pretty slices with a firm cheesecake swirl. All told, you’re looking at about 2-4 hours from start to serving, which makes this a wonderful make-ahead dessert. Bake them the day before a family dinner, church potluck, or holiday gathering, and they’ll be perfectly set and ready to cut. Leftovers keep well in a covered container in the refrigerator for up to 5 days, and you can freeze individual squares, wrapped tightly, for up to 3 months.
How To Make Chocolate Mint Brownies
Final Word
There’s something so special about pulling a pan of these beautiful red swirled brownies out of the refrigerator and watching faces light up around the table. They look like they came from a bakery, yet they’re made with simple pantry staples and a little patience. I love recipes like this because they let me get the work done early and spend more time with the people I love. Whether you’re baking for Valentine’s Day, Christmas, a birthday, or just a quiet Sunday treat, I hope these brownies bring a little sweetness to your home. Thank you for being here and for cooking from scratch with me. May God bless this world, Linda