Lessons I Learned From Food Storage

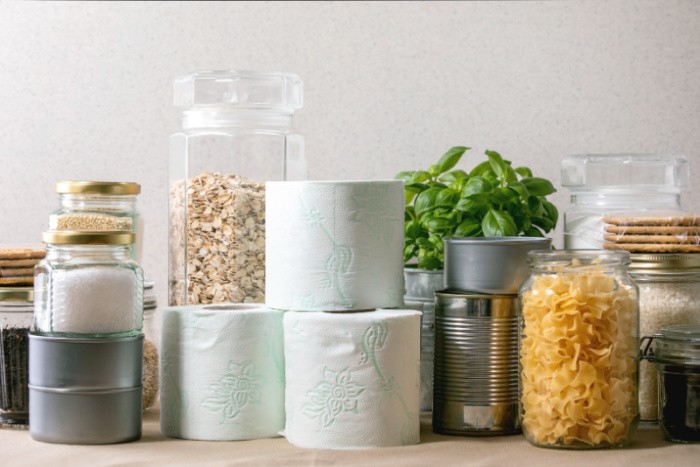
I’ve been wanting to share some lessons I learned from food storage over the years. I have stocked food and emergency preparedness items for over 50 years. My mother taught me a lot about always having food stored. It’s a way of life for me.
I’m worried about what I’m seeing on some FaceBook Groups. Here’s the deal, they are learning now what should be stored, just like many of us have over the years. But, some are teaching others some things that really aren’t correct. In some cases, they are making the term “food storage” harder than it is.
Let me explain a few items I have seen. I don’t want to offend anyone, let me be clear. So many people are prepping and storing food for the end of the world. I’m not. I store food to take care of my family in case of emergency, loss of job, or just simply, to stay out of the grocery stores, and hopefully save some money.
My favorite place in my home is the kitchen, do I have too many kitchen gadgets? Yeah, I confess I may have too many. Does it matter? No, it doesn’t because they all bring me joy. LOL!
MREs
When you decide to stock food, please choose carefully the food you decide on. I don’t know about you, but MREs aren’t my favorite. Some of you may ask what are MREs? They are Ready-To-Eat meals in a self-contained package, typically. Just add water or eat the food as is. People who have spent any time in the military have probably eaten an MRE. They are not my favorite so I have never stocked them.
I’ve taught my readers that it’s critical we learn to cook or bake from scratch, but it’s also critical to purchase and store things that your family will eat, either for everyday meals or in an emergency.
Years ago I bought a few packages of Mountain House chicken salad, as I remember. It tasted pretty good, but I felt they were very expensive for one meal. But, hey, if prepared meals work for you, go for it. When I first started my blog back in 2012, food storage companies were shipping food non-stop to my home to taste and review. After a while, all the ingredients seemed to taste the same, even though they were from different companies.
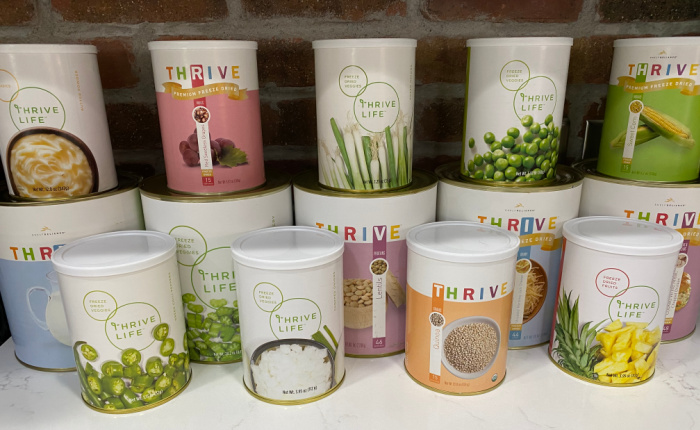
It was that year that I signed up for a monthly delivery from Shelf-Reliance, now called Thrive Life. Back then the food was more affordable, not so much now. In fact, who would pay $90 for one #10 can of meat today? These used to be like $20, as I remember. Here’s the deal, food is getting more expensive all the time, therefore, freeze-dried food is expensive even if you freeze-dry it yourself.
I love the idea of a Home Freeze Dryer, but the cost is not within my budget, plus you must buy or grow the food to process, and the materials needed to preserve it. Ten years ago I would have loved to have had one, but things have changed. I applaud those who have taken the plunge to purchase one and freeze-dry their own food.
Lessons I Learned From Food Storage
I may have told you I have taught bread-making classes for years at a few Bosch kitchen stores. I learned a lot about wheat and flour. Here are some tips that may help you when choosing what kind of wheat to buy. Keep in mind, that wheat right now is in short supply, so the prices have become more expensive. Boy, I hate to see that since wheat is such an important staple for every kitchen.
How I Store My Hard White Wheat
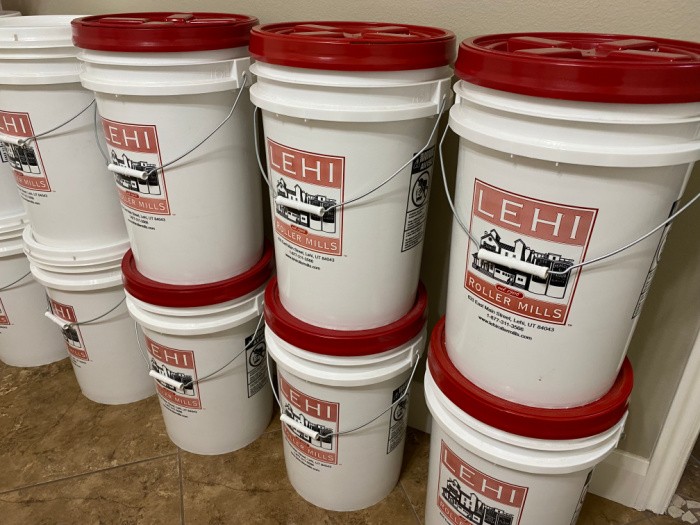
I only buy wheat from Lehi Mills because they “clean” the wheat six times compared to most outlets that clean their wheat two times. My wheat grinders are very expensive and I can’t risk putting inexpensive wheat from outlets where the wheat may have some dirt or even small rocks. I want to trust the quality of the wheat I run through my units.
When Mark and I were first married, we stored wheat in some green 50 or 100-pound buckets. We had a wheat grinder and I made bread by hand until we saved for a Bosch bread mixer. Those containers were huge, so when we moved we gave them to some farmers for their animals. Now we store wheat in 6-gallon buckets.
I have seen cheaper wheat with tiny rocks intermingled, the savings is not worth it to me. I’m lucky I live in Utah and that I can buy it in Lehi, Utah where they are headquartered. But, I also buy it from Costco when they have one of their roadshows where they highlight the wheat from Lehi Mills. I just replace the white lids with Red Gamma Lids so they are easier to open, as shown in the picture below.
Types of Wheat
- Hard White Wheat: This is the only kind I buy. It makes soft and fluffy bread. It is lighter in color and has a moderate protein content.
- Hard Red Wheat: This is what I was raised on, I called the loaves bricks. The hard red wheat has a stronger flavor, heavier bread texture, and higher protein content.
- Soft White Wheat: This wheat is designed mainly for pastries, it makes the pastry flaky and light. This wheat is shorter and plumper and works great for making cakes, cookies, sweetbreads, and muffins. It has more starch, less gluten, and lower protein content compared to hard white wheat.
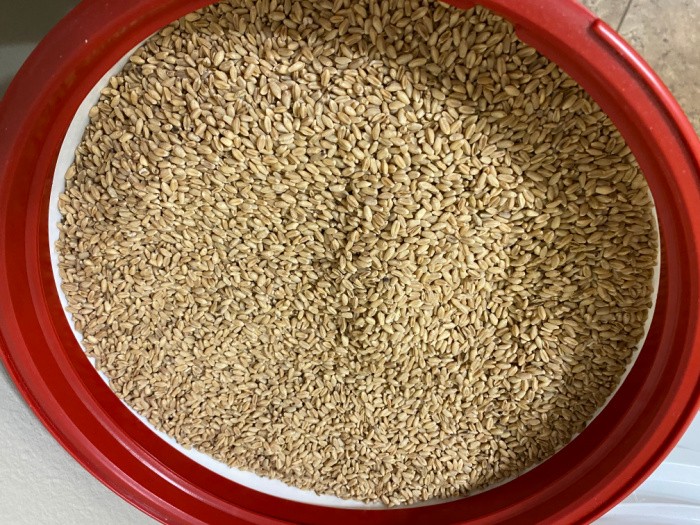
In case you want to see what raw wheat looks like, here is the inside of one of my buckets. Wheat will last indefinitely if stored airtight in a cool, dry location. I never store any of my food storage in my garage. I use the garage to store my other prepping items like 72-hour kits, first aid kits, Dutch ovens, and SunOvens. Garage temperatures are not ideal or controllable.
If you have fresh ingredients anyone can make bread, I promise. The recipes listed below are no-fail recipes. Please store your Saf Instant Yeast, Dough Enhancer, and Wheat Gluten in the freezer. The same goes for any ground wheat.
You may wonder why I use dough enhancers and wheat gluten. Do you remember grandma’s whole wheat bread that was heavy as a brick? We’ve come a long way baby with making whole wheat bread. If you want whole wheat bread that is fluffy and moist, you will love using these two products as part of the recipe. I also use dough enhancers when I make my fluffy white dinner rolls. And cinnamon rolls, yes, it makes a HUGE difference.
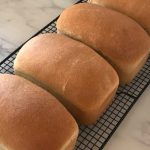
My Whole Wheat Bread Recipes
Every time I see my recipe for eight loaves, I get the giggles. I was asked to write the book “Prepare Your Family For Survival” by Linda Loosli. My publisher said, “Oh no, we can’t use a recipe that makes 8 loaves. Where we live people only make one loaf at a time.” Well, in Utah, we have large families and we make 8 loaves of bread at a time. I give some away to friends and neighbors, and I freeze several loaves as well.
- 6 Cups Warm Water
- 2/3 Cup Olive Oil
- 1 Cup Honey
- 2 Tablespoons Dough Enhancer
- 2 Tablespoons Wheat Gluten
- 2 Tablespoons Salt
- 2 Tablespoons Dry Instant Milk
- 2 Tablespoons Saf Instant Yeast
- 2 Tablespoons Lemon Juice
- 14-15 Cups Whole Wheat Flour
-
Instructions
-
Start adding the ingredients in the order shown above with one exception into your mixing bowl…start with 7 cups of flour and slowly add more flour until the dough pulls away from the sides of the bowl. I use a Bosch Mixer. I grew up making bread without a mixer..it can be done by hand. I grew up letting my bread rise twice so I still do that. Old habits are hard to break! I mix it for 10 minutes in my Bosch. Cover with greased plastic wrap until it doubles in size. Punch down and form dough into eight one-pound loaves or less if your bread pans are larger. I let the dough rise one more time with greased plastic wrap. Bake the bread at 350 degrees for 27-30 minutes. If your pans are larger you will bake your bread longer. You will love making whole wheat bread, I promise!!
I cut the recipe down to 2 loaves for my book.
- 1 1/2 cups warm water
- 2 tablespoons olive oil
- 1/4 cup or so of honey
- 1/2 tablespoon salt
- 1/2 tablespoon SAF instant yeast
- 1/2 tablespoon dough enhancer
- 1/2 tablespoon wheat gluten
- 1/2 tablespoon lemon juice
- 3-1/2 to 4 cups whole wheat flour
-
Start adding the ingredients in the order shown above with one exception into your mixing bowl…start with 2 cups of flour and slowly add more flour until the dough pulls away from the sides of the bowl. I use a Bosch Mixer.
-
I grew up making bread without a mixer. It can be done by hand. I grew up letting my bread rise twice so I still do that. Old habits are hard to break!
-
I mix it for 10 minutes in my Bosch. Cover with greased plastic wrap until it doubles in size.
-
Punch down and form dough into two one-pound loaves. I let the dough rise one more time with greased plastic wrap.
-
Remove the plastic wrap Bake the bread at (350°F) = (76°C) degrees for 27-30 minutes. If your pans are larger you will bake your bread longer. You will love making whole-wheat bread, I promise!!
Whole Wheat Bread-4 Loaves
- 3 cups water
- 4 tablespoons olive oil
- 1/2 cup or so of honey
- 1 tablespoon salt
- 1 tablespoon SAF Instant Yeast
- 1 tablespoon dough enhancer
- 1 tablespoon wheat gluten
- 1 tablespoon lemon juice
- 7-8 cups whole wheat flour
-
Start adding the ingredients in the order shown above with one exception into your mixing bowl…start with 7 cups of flour and slowly add more flour until the dough pulls away from the sides of the bowl. I use a Bosch Mixer. I grew up making bread without a mixer. It can be done by hand. I grew up letting my bread rise twice so I still do that. Old habits are hard to break!
I mix it for 10 minutes in my Bosch. Cover with greased plastic wrap until it doubles in size. Punch down and form dough into four one-pound loaves. I let the dough rise one more time with greased plastic wrap. Bake the bread at 350 degrees for 27-30 minutes. If your pans are larger you will bake your bread longer. You will love making whole wheat bread, I promise!!
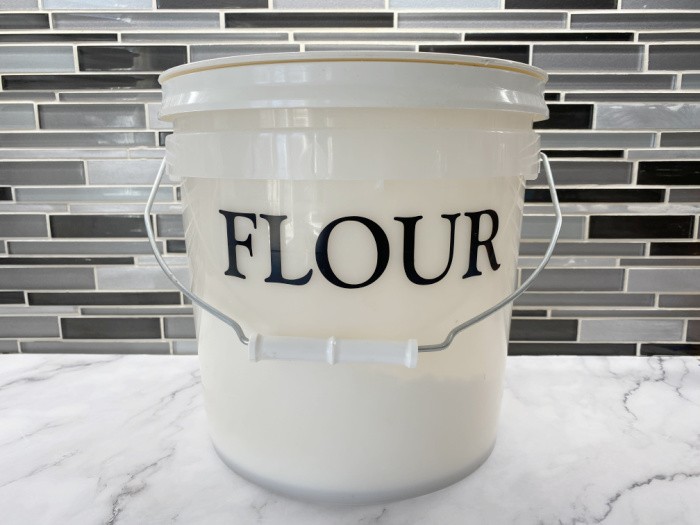
White Flour
You may have read a post where I talk about bread flour. When I started making bread back in the 1970s, we only had white flour. Not bread flour, not even sure it was all-purpose flour. We just bought white flour and made bread. Back then we had to dissolve our yeast in water, not anymore my friends. Now when I make bread I either dump everything in my Bosch bread mixer or my Zojirushi bread maker to do the mixing step. Hopefully, around Mother’s Day, you can find one of these at Sam’s Club or Costco for a good price so you can do the same.
I have seen where people place their flour in the freezer to kill the bugs, or whatever. I typically buy 200 pounds of white bread flour at any given time. It would be impossible for me to put all eight bags in the freezer, they wouldn’t fit. I have never had bugs in my flour. It’s getting harder to buy bread flour, and if you can find it, the bags are so little or the price is ridiculous. In this last batch, I had to buy all-purpose flour. Will it work, sure, is it my favorite? No.
I realize that wheat is in short supply so the flour will be too. Please stock up if you make bread, cinnamon rolls, bagels, or dinner rolls.
Shelf-Life of White Flour
The shelf life of white flour, be it bread, or all-purpose is 12-18 months. I can almost hear some people say I have flour that is ten years old. I only buy what I can use in 12-18 months because I always have better results when the ingredients are fresh. USDA Flour Shelf-Life I quote, “Shelf life and storage conditions: 70 degrees F., 70 percent humidity, 120 days duration under good conditions.”
In case you missed this post, Flour: What You May Not Know
My White Bread Recipes

- 4 cups warm milk
- 8 tsp. SAF Instant Yeast
- 4 eggs
- 1/2 cup Oil – I use olive oil
- 8 teaspoons dough enhancer – optional
- 3 tsp. Sea Salt
- 1 cup sugar
- 1 cup warm water
- 13-14 cups white bread flour
-
I start with a Bosch Mixer, although you could make this in a bowl and stir by hand. I put the yeast, warm water, salt, oil, and sugar in the bowl. I then add the eggs and lightly mix it in the Bosch so the eggs don't “cook." Then I add the warm milk and flour slowly. I continue to add flour until the bread dough pulls away from the sides of the Bosch bowl. I knead for about 7-8 minutes. I place the dough in a greased bowl and cover the bowl with plastic wrap. I let the dough rise until it's double the size. I punch down the dough and make into loaves and place these in greased pans (I make eight-1 pound loaves). I let it rise once again (using the same plastic wrap) until it doubles in size, and then I bake them at 350 degrees for 27 minutes. I lightly butter the tops of each loaf after baking while cooling on wire racks.
Some people only want to make two loaves.
- 1 cup warm milk
- 2 tsp. SAF instant yeast
- 2 tsp. dough enhancer (optional)
- 1 egg
- 1/8 cup oil-I use olive oil
- 3/4 tsp. sea salt
- 1/4 cup sugar
- 1/4 cup warm water
- 3 to 3-1/2 cups white bread flour
-
I start with a Bosch bread mixer, although you could make this in a bowl. I put the yeast, warm water, salt, oil, and sugar in the bowl.
-
I then add the eggs and lightly mix them in the Bosch so the egg does not “cook”.
-
Then I add the warm milk and flour slowly. I continue to add flour until the bread dough pulls away from the sides of the Bosch bowl.
-
Then knead the dough for about 7-8 minutes. I place the dough in a greased bowl and cover with plastic wrap.
-
Let the dough rise until it's double the original size. Then punch down the dough and make it into loaves and place these in greased pans (this recipe makes two-1-pound loaves).
-
I let it rise once again (using the same plastic wrap) until doubled in size.
-
Remove the plastic wrap and bake them at (350°F) = (176°C) degrees for 27-30 minutes. I lightly butter the tops of each loaf after baking and remove them from the pans.
HOW TO MAKE SCONES aka Fry Bread
- I start with a very large skillet and heat the oil one to two inches deep until I can spritz a few drops of water into the oil ever so carefully, then I know it’s hot enough.
2. You will start with one ball of dough about the size of a tennis ball, maybe a little smaller, but bigger than a golf ball.
3. Then mash the dough with the palm of your hand on a greased countertop and use a rolling pin to roll the dough from the center out. You keep rolling from the center out until they are very thin.
4. Then place them in the hot oil really carefully because the oil will splatter. Here’s the deal, yes, it’s a big mess, but I’m talking about memories right now.
5. Adults and kids always love hot scones. You fry them until they are golden brown, and turn them over to cook the other side until that side is golden brown too.
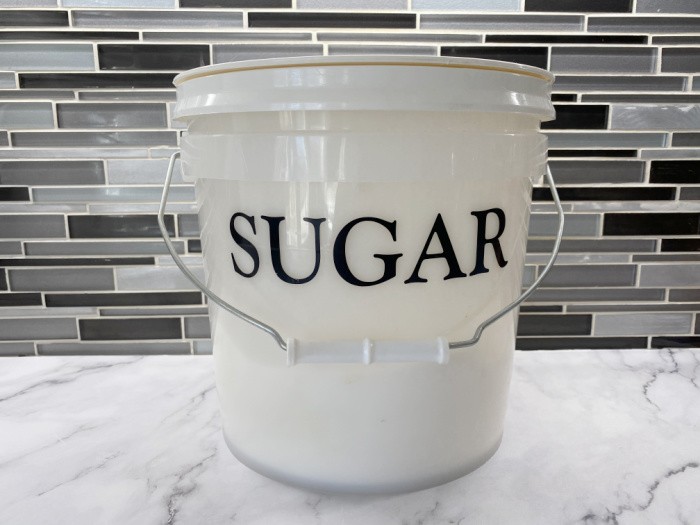
Storing Sugar
There are two things I’ve found you never want to use oxygen absorbers in, they are sugar and salt. These products will become as hard as bricks. I store my sugar dumped from the bag directly into a clean 5-gallon bucket with a Gamma Lid. I also have 2-gallon buckets for easy access in my pantry. I get my Two-Gallon Buckets and Gamma Lids from Pleasant Hill Grain.
Please remember my motto, buy right the first time. If you can get free buckets that’s awesome, but I have never seen free ones that work for me. If by chance you live where it is humid, you will want to store your sugar in airtight mason jars. I do not use Mylar bags, but they may work for you.
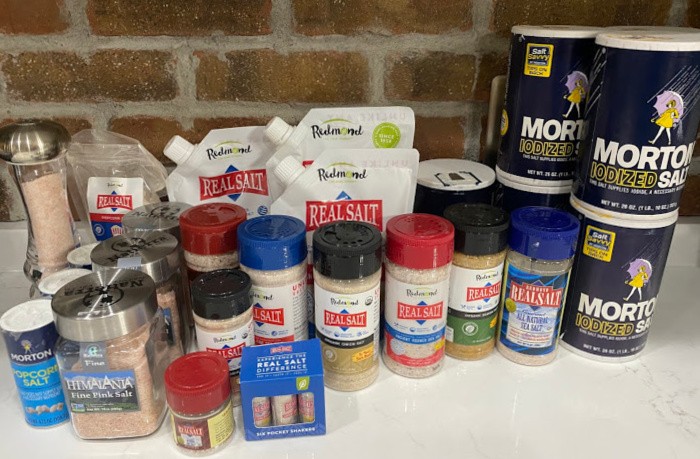
Storing Salt
I’m blessed to live in an environment that is not humid. I can store my salt in their original containers. Please remember, if you live in areas that are humid, you may have to store your salt in glass mason jars. My concern is, that there are people I read about on FaceBook who is buying 200 to 300 pounds of salt at one time. Then they are repackaging them into smaller packages. That’s too much work for me.
I’m not an expert on how much salt to store, but I would never use that much salt. And I bake a lot and love every minute of it. Calculate how much you need and stock accordingly. This is how I roll, you can see my stash of stored salt in the picture below. Most salt lasts indefinitely, but be sure and check the type of salt you store for expiration dates if any.
In case you missed this post, 12 Unusual Uses for Salt
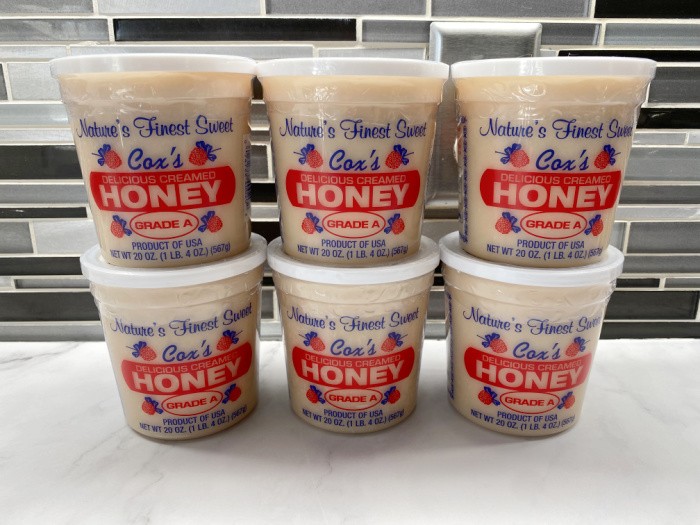
Storing Honey
Raw, unfiltered honey will last indefinitely. Please be aware that it may crystallize, also known as hardened. When I used to teach food storage classes, people were so excited to tell me they purchased 5-gallon buckets of honey. That’s so awesome! Until the honey crystallizes. Please store honey in quart glass jars, you’ll find it much easier to work with. Please use wide-mouth glass jars, they are easier to use when your honey crystallizes.
If the honey crystallizes, you can set the jar outside on a warm day and the honey will liquefy again. It may take several hours. Yes, you can microwave the jars, but you may lose some of the nutrients. But, hey, if you need honey, we have to do what works, right?
I know people set the jars in warm water in a sink, and some even boil water with jars in a pan. Just be aware, please don’t keep that honey in those 5-gallon buckets. One thing I’d caution you about with honey is to steer clear of plastic containers. I don’t like honey stored in them because the containers have been known to break down over time and then you would have sticky honey everywhere.
My favorite place to purchase honey is Cox’s Honey located in Shelley, Idaho. The company sells honey at Walmart and other grocery stores, but they also ship their honey. I love their creamed honey because I can freeze it. It’s pure raw, unfiltered honey.
Lessons I Learned From Food Storage
Final Word
I hope you enjoyed today’s post on “Lessons I Learned From Food Storage.” It’s all about being prepared for the unexpected. We can do this one can, one bucket, or one bag at a time. Buy right the first time, my friends. You will have the food you and your family will enjoy eating. Please teach your kids and grandkids to cook from scratch, it’s a badly needed skill right now. May God Bless this world, Linda


I have to agree about storing salt. when I got my storm shelter and could use it I would put food in it incase I
needed to live in my shelter. I never thought about the humidity and when I went down one day to check on
things I found one big lump of salt. I had to end up throwing it out. Never did that again. Never to old to learn.
I do have 1 or 2 MRE’s for emergencies but have never tried them. They to are getting expensive. I
do have a emergency food kit with “instance” food. I never remember what it is called. Other than those few items all
of mine are “real” food things. Some are bought and some are home grown so I try to have a selection.
Hi June, thank you for the 5 stars, my sweet friend! We have all had some “learning curves”! LOL! I totally agree with you, variety is the name of the game. Plus, when people can cook from scratch or bake from scratch we can fill the belly super easily! Linda
Linda, such good reminders! Especially about honey crystallizing. And I’m glad you addressed how many people are trying to prepare for TEOTWAWKI, and then are getting, what I consider to be, poor advice. I too prepare for what my family might face. Not for Doomsday. And yea, I don’t want to offend anyone but some of the canning advice is scary. My mother used to tell me how a lot of people got sick from home canned foods done improperly. Many died. No way would my mother have waterbathed meat nor even p/c’d milk. I’m not sure Why people think there’s this great conspiracy to ‘make’ us do things…Safely. Yes, govt agencies came up with guidelines because food poisoning is real. I actually wonder how many will get sick from unsafe practices. But, to each their own, I guess.
Thank you Linda.
I have really enjoyed reading your posts. I’m encouraged to keep moving forward.
And thank you for posting the 2 Loaves recipes.
Please continue sending great tips. So many people need to know things their moms didn’t teach because they just didn’t know how themselves.
What a blessing to have been taught by grandma. I just want you to know that I appreciate the time you have taken yo share.
Sincerely.
Hi Rose, oh, thank you, my sweet friend! You made my day! I write 7 days a week because I love doing it. I have the best group of friends I have made through my blog. God blesses us all with ideas and we can use all of them! My mother was my hero, I took for granted what she taught me by example. I’m glad you can use my 2 loaves recipe. Have fun baking! Linda
I love this post! Mistakes have been made, learned from and moved in!
I keep a few backpacking meals on hand for that first week or so of an emergency when I’m just trying to maintain! They don’t have much in the way of shelf life so I only keep them for a year, then they are used on a camping trip.
One suggestion I have for storing honey: store your honey in wide-mouthed pint jars. Takes up room on the shelf but if/when your honey crystallizes, you will be glad you did. My husband and I were given 2 half gallon jars of honey for our wedding gift. It crystallized and it was a bear to get out. It took days to return it to a liquid. I buy local honey in larger containers but repackage in wide-mouthed pint jars when I get home. It can be a messy process but well worth it in the end.
Hi Leanne, oh my gosh, I always use wide-mouth jars!! BUT, I love the pint idea. I need to add this to the post!! Love it! Linda
Hi Linda! Nothing beats homemade bread. The smell is awesome. This is a great post! I have cereal containers that I use for my flour, sugar, etc that I use daily. They hold 1 (5 lb) bag of flour easily. I do have 5 gallon buckets with the Gamma lids. They are well worth the price. I do want to get a couple of more. I do need to make more bread.
Hi Deborah, I love hearing you store flour and sugar!! Thank you for the 5-stars, my sweet friend! I love the idea of a 5-pound size container. I had to switch from the 5-gallon (I still have so many) but I use those to fill my 2-gallon buckets. The smell of homemade bread is so good! I’m making some stuff today for posts later this week. Linda
Hi Linda, thank you so much for sharing all of this amazing knowledge. I am new at the whole process.
I’d like to know how to store yeast in the even the power goes out or the grid goes down and we are without electricity for an extended periods of time? Can it be dry
Canned in small jars and still be good? Please keep writing.
Thanks so much!
Andrea
Hi Andrea, oh, thank you for your kind words. Please store your yeast in the freezer, if we lose power even for 2 weeks, it will be fine. If we have a total power grid outage, if the yeast goes bad, you can make sourdough bread that does not need commercial yeast. Please print out the instructions. You do not need to pay for a class to learn how to make a sourdough starter. I show you step by step. You can do it. Please live for today, and the future will bring what it does. BUT, YOU will be prepared to survive. We can do this, Linda
https://www.foodstoragemoms.com/sourdough-starter/
Thanks, Linda! Lots of great advice. I made my first loaves of bread last weekend and hubs and daughter’s family loved them even though I see lots of room for improvement. Wish my grandmother was still around but I retained a lot of info as she cared for us. Now, if I can make hub’s mother’s yeast rolls!!!!
Hi Marilynne, thank you for the 5 stars, my friend! Yes, you can make your MIL’s yeast rolls! You just need fresh ingredients, you can do it!! I love hearing you made bread!! SQUEAL! Life is good! Oh, the smell of fresh bread! Linda
Linda,
What size containers of honey do you buy from Cox?
Thanks,
Karl Woods
Hi Karl, I buy the half-gallons, they will be fine for about a year. After that, the containers break down, or at least they did when I lived in the desert. I try to store all honey in glass jars (wide-mouth) if I’m not going to use it right away. I love the small containers of creamed honey, I freeze them or place them in the refrigerator. Linda
Karl, I forgot to thank you for the 5 stars, my friend! Linda
Linda,
Love your posts and wisdom. It always makes me stop and think if I should do something different. You give great advice that is backed up with years of experience. As I learned in this post- re-containerize my honey. Don’t know why I never have, maybe because it never lasts very long in our house.
Also, your wheat advice is spot on. If someone is unsure what wheat they want to store, normally I would say try different types red/white/hard/soft, but now it is very difficult and expensive to purchase. Don’t for!get if you store wheat you need a grinder!
Thank you and God Bless
Hi Caroline, thank you for your kind words, my friend! Yes, it is getting difficult to get wheat. I hope people don’t buy wheat just to buy wheat. If they don’t know how to use it or have a grinder, it worries me. We must buy what we use. Of course, if they plan on making whole wheat bread, buy a little wheat, a wheat grinder, and learn to make whole wheat bread. It’s so fun!! Then they can buy a bread mixer. Linda
MREs shine when you need to move. If you actually have to use that go bag something has gone terribly wrong and you gotta be moving rapidly. Don’t mean you don’t eat. You can eat as you go.
They require zero external resources to eat. No cooking and there’s a heater if it needs warmed.
They are also good if you drop in a natural disaster area like a tornado zone to assist because there is no flame which is an issue till all the gas lines get shut off and purged.
Hard salt is still salt hard sugar is still sugar.
Hi Matt, you are so right about the MREs, easy to eat on the go. They are perfect in shelters where you can’t use a stove. Great comment, Linda
Linda, a question on your bread recipes. Can you just double the 2 loaf one and half the 8 loaf one? 4 loaves are the perfect amount for us to eat and freeze for later, but I wondered if the recipes would have to be adjusted some how. Thanks, just don’t want to mess with perfection…..its really good I’m just not an expert on adjusting recipes.
Hi Jeanne, yes, just double the recipe. Let me do that and make another recipe for 4 loaves for you. Give me 5 minutes. I will put it in the post. Thank you for the 5 stars, my friend! Linda
Hi Jeanne, I just added the 4 loaf recipe. It should be double. I’m frosting a cake, please check it. Were you talking about the whole wheat bread recipe? I can fix the white as well. Linda
Both kinds actually, we love whole wheat but I’ve been using your bread flour idea instead and we really like that too. I’ve found a recipe for English muffin bread and the bread flour is perfect. It makes 4 loaves and is the best for French bread. Thanks for such a quick reply. we got 4-5 in he’s of snow last night and homemade bread sounds wonderful!
Hi Jeanne, thank you for the 5 strs, my friend. I will work on the other white bread recipe as well today. Oh, I love homemade English Muffins, I have only made sourdough ones, but there is something about homemade that rocks! have fun baking! Linda
I recently read about almond flour. How would it be stored and used?
Hi Chris, thank you for the 5 stars, my friend. Yes, I have used it in something. It has a very short shelf life (nuts). You can store it in your freezer. I do not use it. Linda. Here is the recipe I used it for, it was way too expensive to make it.
Your article reminds me I haven’t made bread for a few months and therefore need to brush up on my skills.
I’ve never used a bread machine. I use a hand tool called a Danish dough whisk. They cost less than $10 from Amazon and work amazing to stir a heavy batter. At least for me, to get a good fluffy loaf, I’ve learned not to add more total flour than the recipe calls for. I used to add too much because the dough was too sticky to get through the recommended kneading.
I have found the secret is all in the stiring in the bowl before kneading. After I add the first two cups of flour, I use the whisk and draw it through the batter in long strokes for 1 to 2 minutes. I do this for each two cups and end up with a dough ready to knead without adding more flour.
Hi MtGrammy, oh, I love tips like this, thank you!! I recommend a Danish Whisk to all of my readers, it’s a great kitchen tool! Linda
Hi, Linda. Do you use glass or metal loaf pans for your bread? I have glass ones that make awesome banana nut bread but I have never used them for white bread. Thanks for the great articles – I see some pretty scary advice about food storage online and it’s nice to read your sound advice!
Hi Kay, oh, I hear you on the scary stuff on food storage online. I just shake my head and keep scrolling. I use metal pans for my bread. I have never used glass ones. Now, I want to make some banana nut bread! Linda
Hi Linda:
I thank God for mine, my daughters, sons and daughter in Loves allergies. That keeps me from buying things that could make one of us sick since I have to check out the ingredients before I buy. When I say my sons allergies is really not a allergy but I have to make sure there is no sugar in a lot of things because even at 44 he will still go haywire when he eats too much.
Hi Jackie, thank you for the 5 stars, my friend. Allergies are not fun. I have heard people can be affected by sugar, we all have to be careful. Linda
How do you store flour? I have a 25 lb bag of gluten free flour, some Mylar bags, some 2 gal buckets and some O2 absorbers. What will works best?
Hi Kristina, I live in Utah where the humidity is very dry. I only store white bread flour or all-purpose white flour for 12-18 months in 5-gallon buckets. You may want to check with the company you bought the GF flour from. I just called a Celiac company to ask about the shelf-life of their GR flour. The problem is it may have to be placed in your freezer because the contents have such a short shelf-life. I do not use Mylar bags or oxygenators. Linda